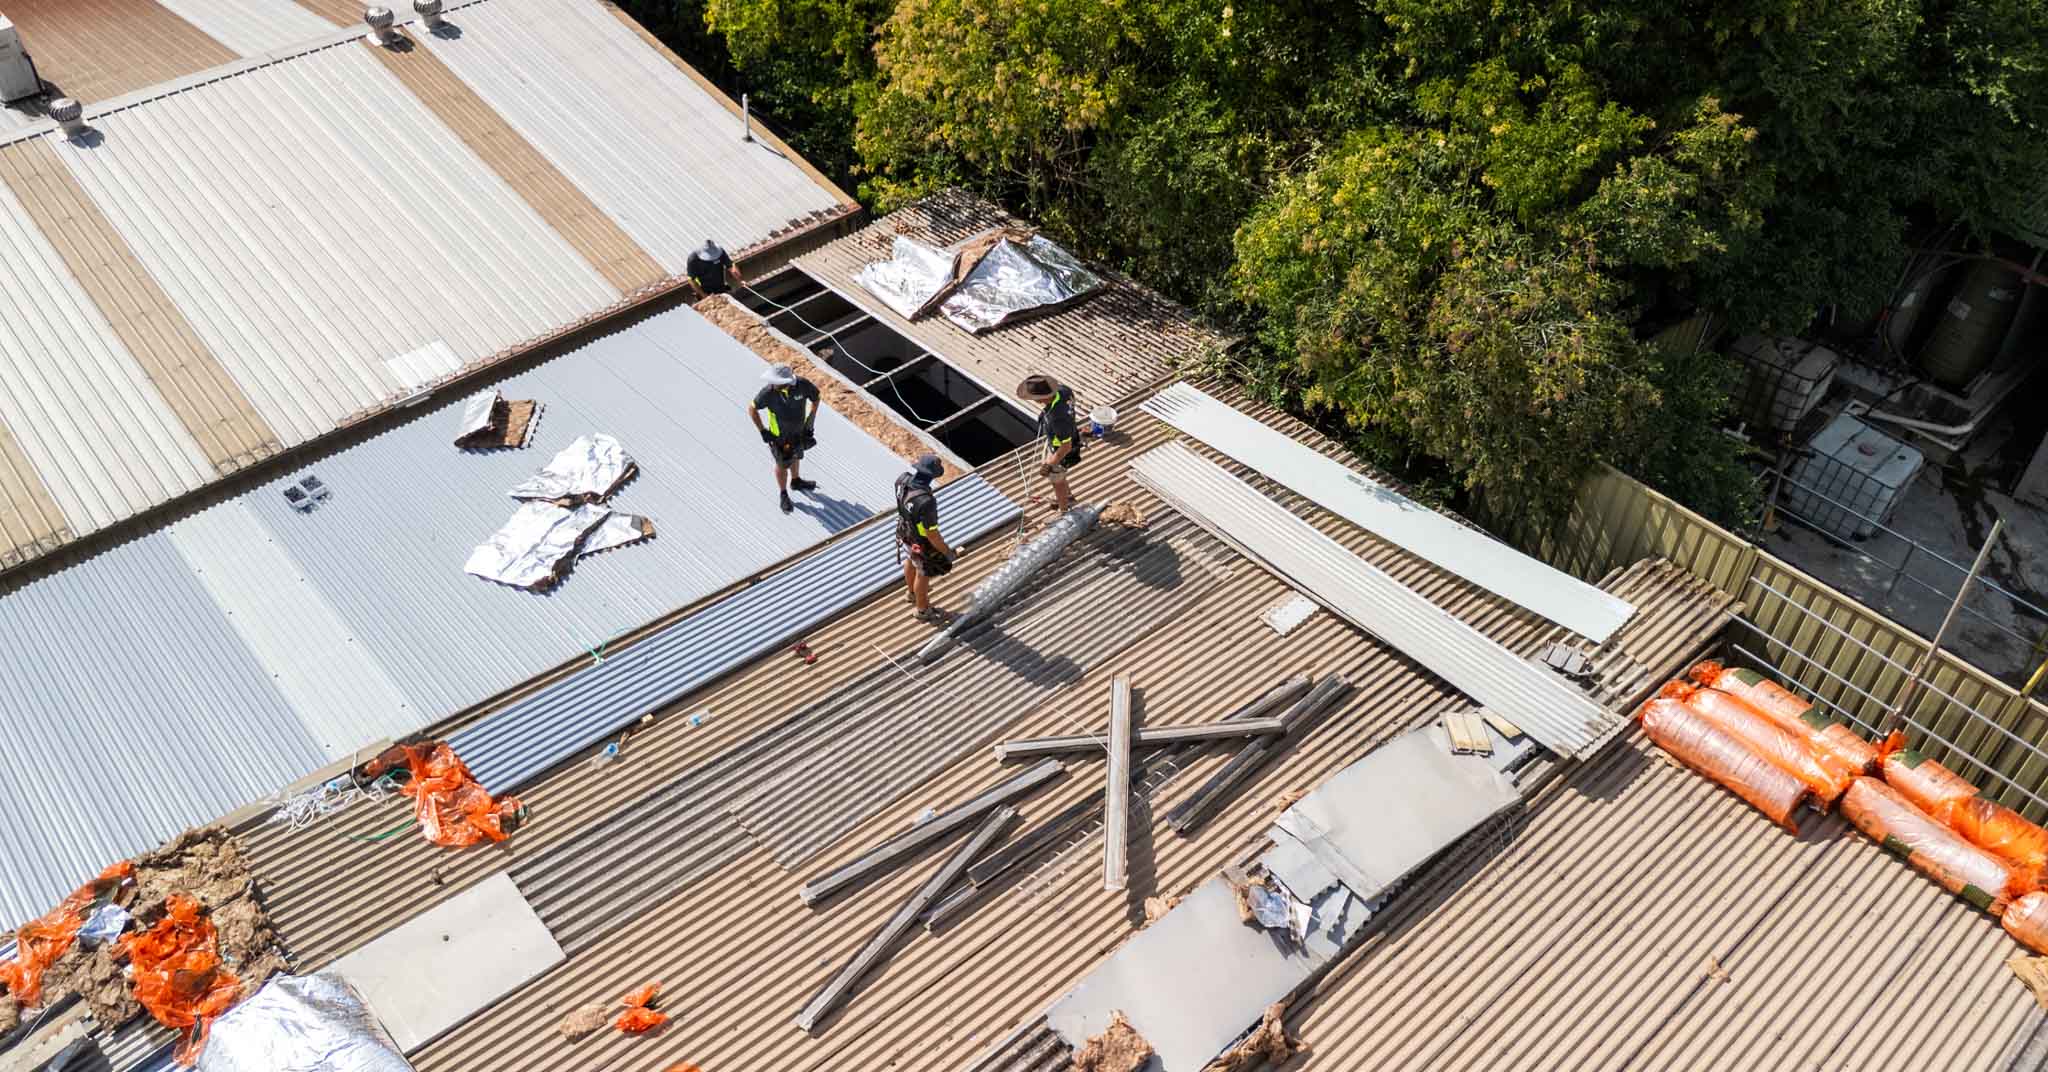
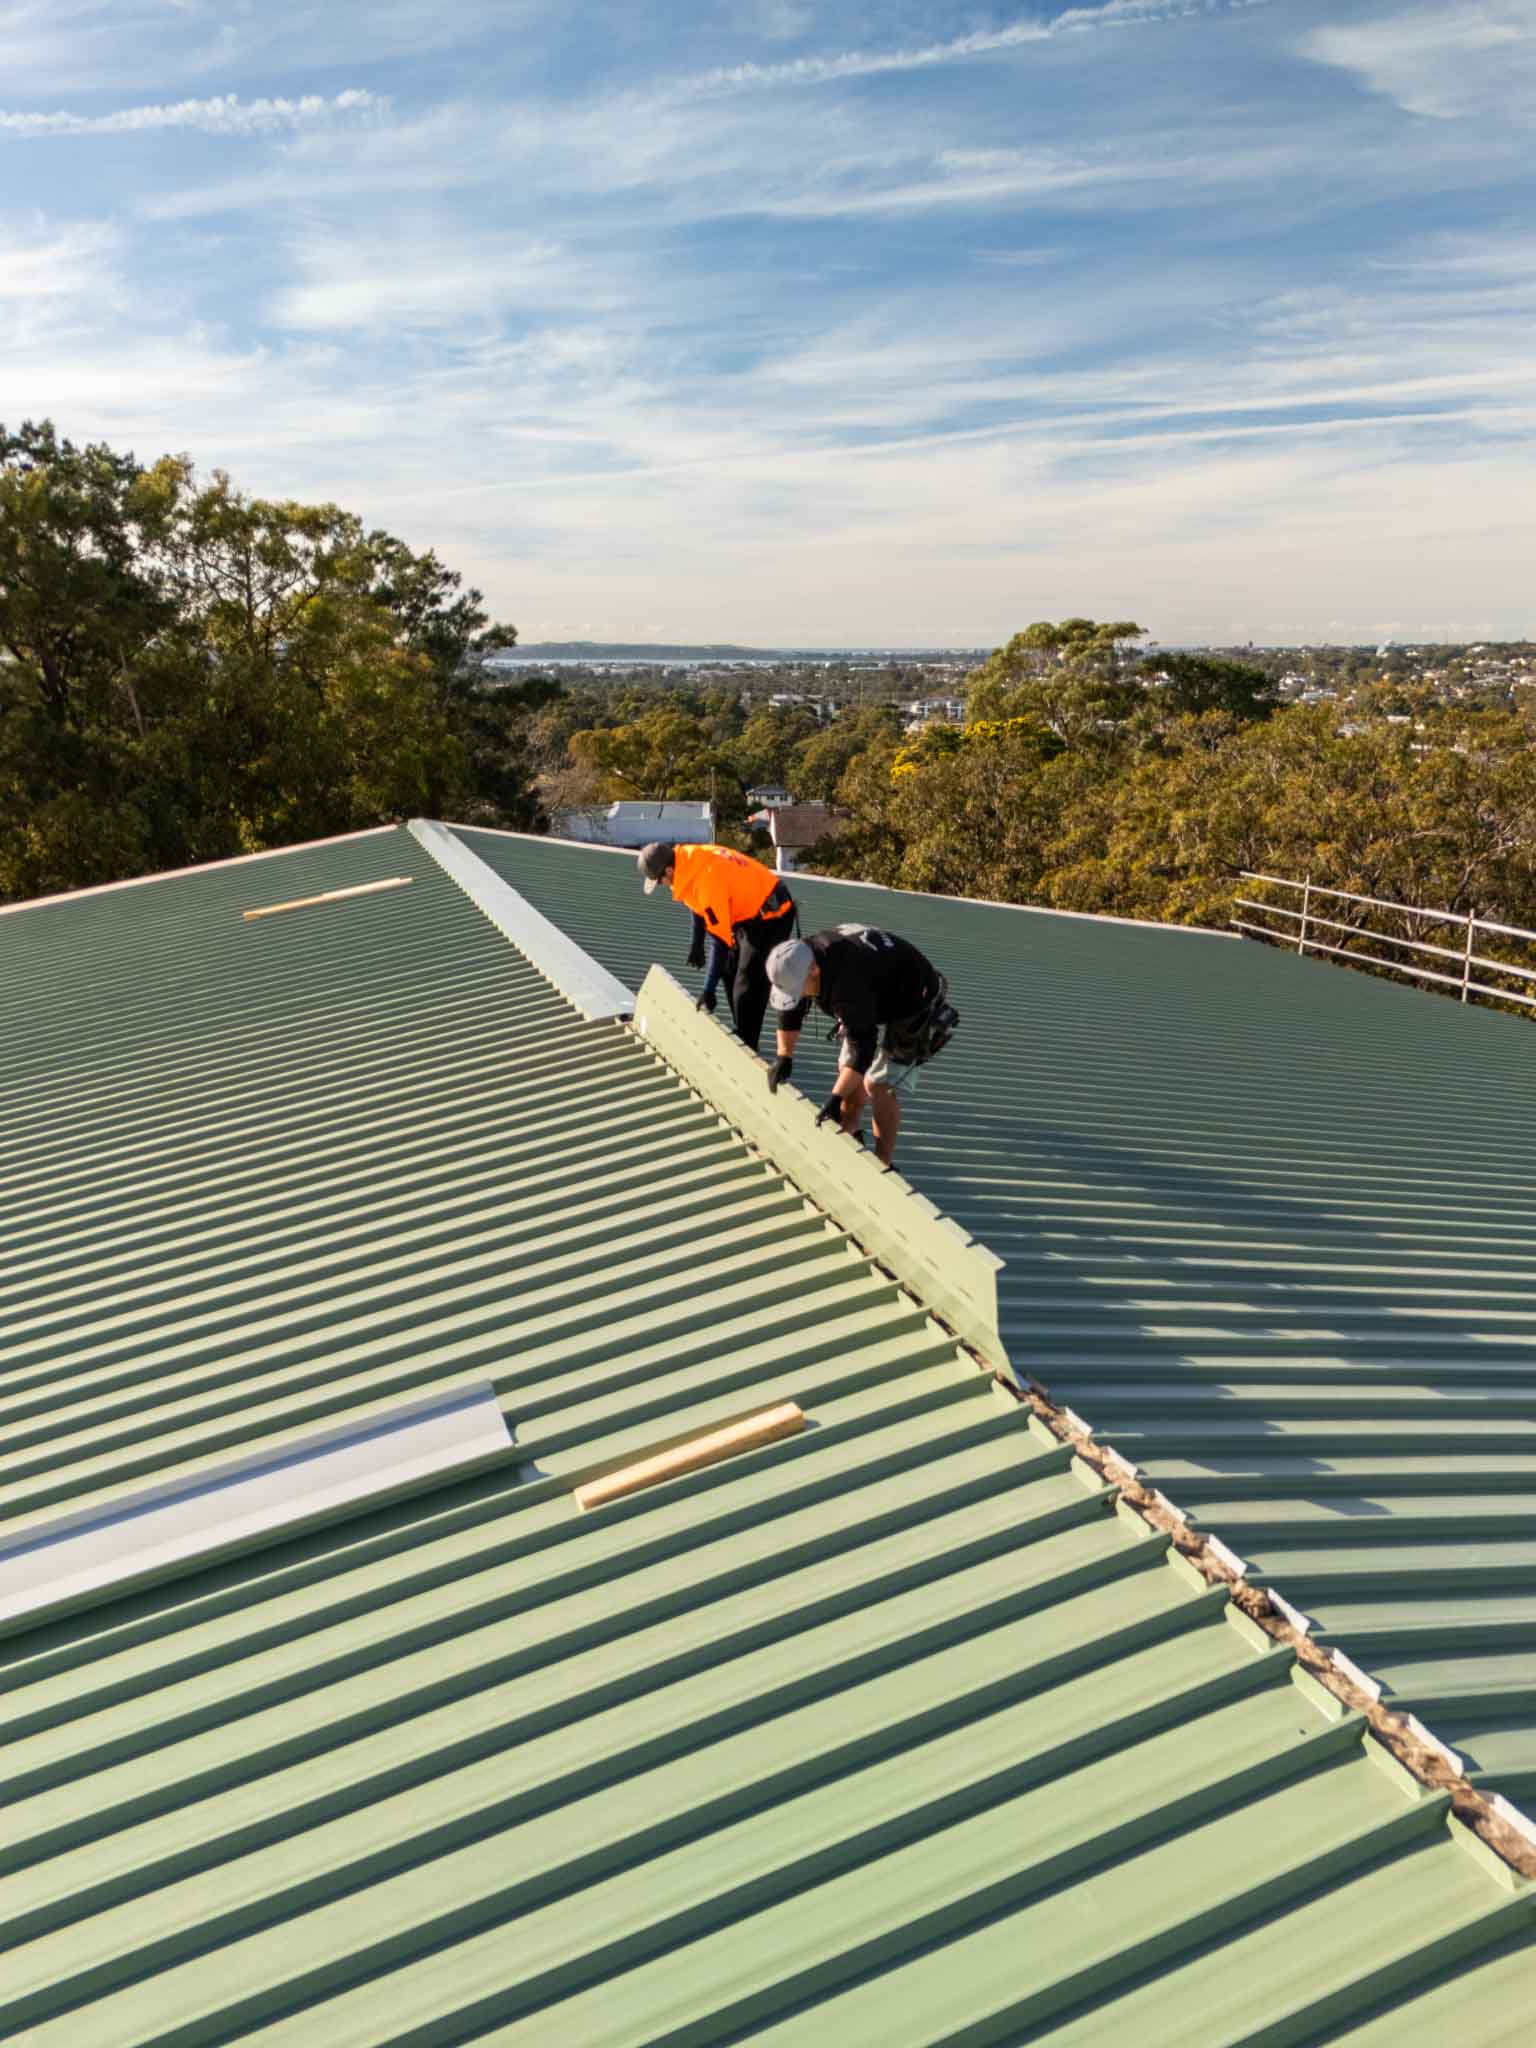
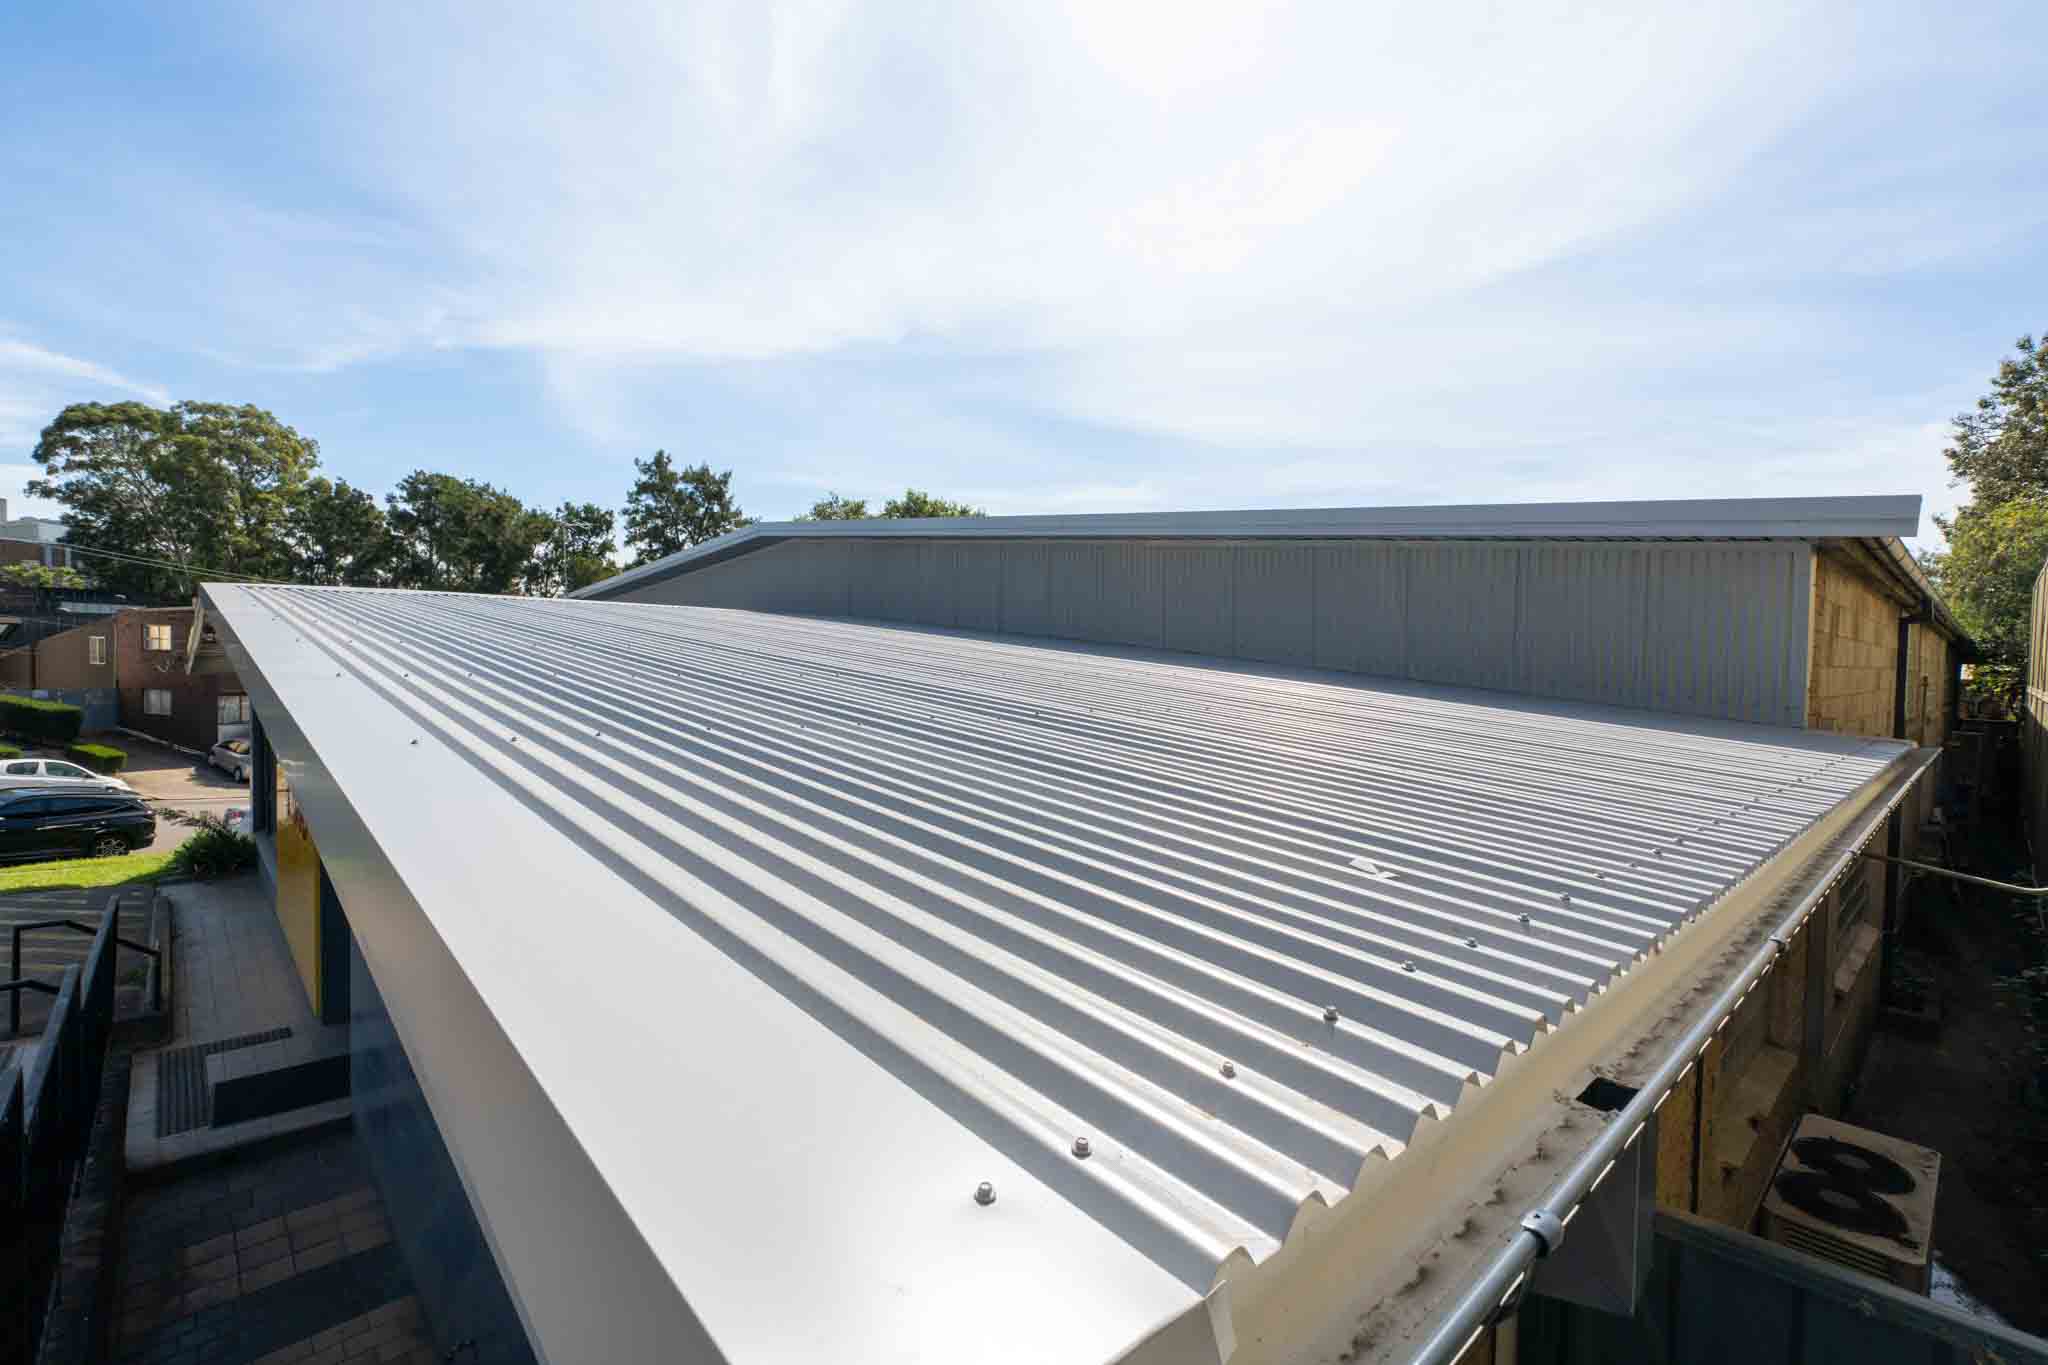
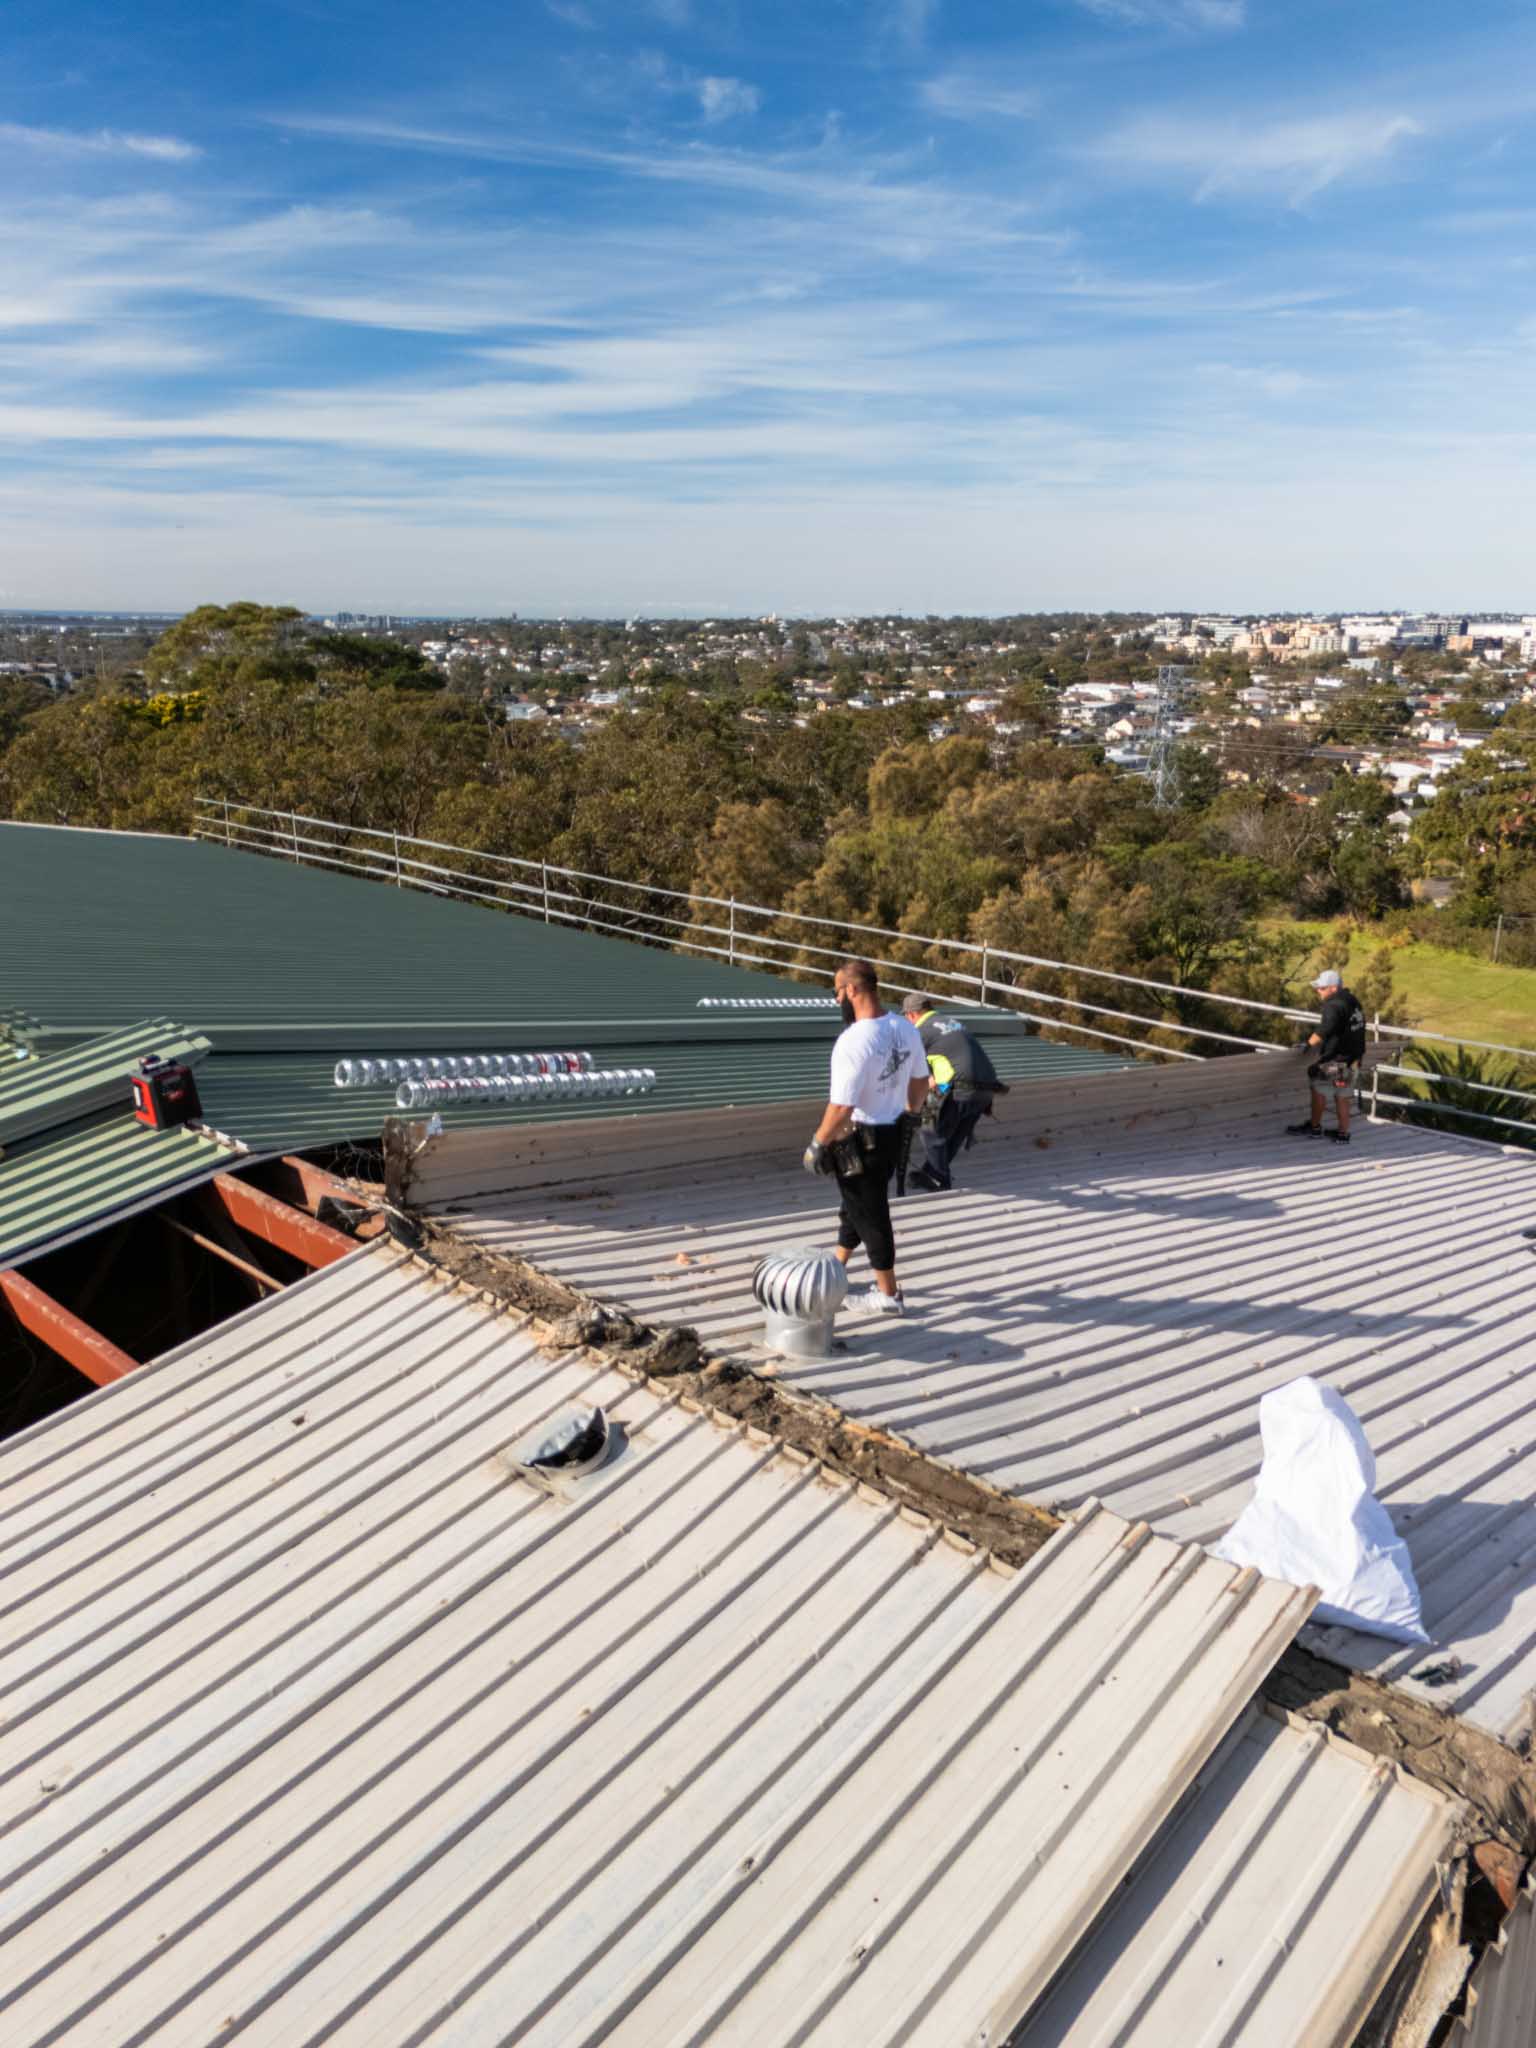
Roof sarking, also known as roof underlayment or roofing membrane, is a critical but often misunderstood component of modern Australian roofing systems. Acting as a secondary weather barrier beneath your roof tiles or metal cladding, sarking provides essential protection against water ingress, improves thermal performance, and extends the lifespan of your entire roofing system. This comprehensive guide explains everything you need to know about roof sarking, from building code requirements to material options and installation standards.
What is Roof Sarking?
Roof sarking is a pliable membrane or sheet material installed beneath roof coverings (tiles, metal, etc.) and attached directly to roof battens or rafters. It serves as a secondary barrier against water penetration while managing condensation and improving building envelope performance.
Primary Functions of Roof Sarking
- Water protection: Prevents water ingress from wind-driven rain, damaged tiles, or condensation
- Dust barrier: Stops dust and fine particles from entering roof cavity
- Thermal performance: Reflects radiant heat and improves insulation effectiveness
- Condensation management: Controls moisture vapor and prevents condensation damage
- Structural protection: Shields timber framework from moisture and deterioration
- Fire resistance: Many sarking types provide additional fire protection
💡 Building Code Requirement
Under the National Construction Code (NCC) and AS/NZS 4200.2:2017, roof sarking is mandatory in most Australian climates and for most roofing materials. The requirement depends on roof pitch, material type, and climate zone. Always verify local requirements with your building certifier.
Types of Roof Sarking Materials
Several sarking materials are available, each with specific characteristics suited to different applications and budgets.
Reflective Foil Sarking
The most popular choice for Australian residential construction, combining water protection with superior thermal performance.
- Construction: Aluminum foil laminated to reinforcing material (kraft paper, scrim, or woven fabric)
- Thermal performance: R-value typically 1.5-2.0 when installed with air gap
- Water resistance: Excellent waterproofing when properly installed
- Vapor permeability: Most types are vapor barriers (impermeable)
- Cost: $8-$15 per square meter installed
- Lifespan: 50+ years when correctly installed
- Common brands: Kingspan Air-Cell, Fletcher Insulation Sisalation, CSR Bradford
Breathable Membrane Sarking
Synthetic membranes that allow water vapor to pass through while blocking liquid water.
- Construction: Spunbond polypropylene or polyethylene with microporous structure
- Vapor permeability: Breathable—allows moisture vapor escape from roof cavity
- Water resistance: Excellent protection against liquid water penetration
- Thermal performance: Minimal R-value (0.1-0.3), no radiant heat reflection
- Cost: $5-$10 per square meter installed
- Applications: Ideal for moisture-prone areas or where condensation is concern
- Common brands: Tyvek, Pro Clima, Gale
Traditional Building Paper
Older sarking type still used in some applications, particularly heritage restoration.
- Construction: Bitumen-impregnated kraft paper or synthetic paper
- Water resistance: Good but inferior to modern alternatives
- Thermal performance: No thermal benefit
- Vapor permeability: Varies by type
- Cost: $3-$6 per square meter
- Limitations: Shorter lifespan, prone to tearing, limited UV resistance
- Applications: Heritage buildings, budget constructions, temporary protection
Self-Adhering Membranes
Premium waterproofing membranes with self-adhesive backing for superior weather protection.
- Construction: Modified bitumen or synthetic rubber with adhesive backing
- Water resistance: Exceptional—self-seals around penetrations
- Installation: Adheres directly to deck without mechanical fixing
- Applications: Low-pitch roofs, critical waterproofing areas, ice dam regions
- Cost: $15-$30 per square meter
- Lifespan: 30-50 years
Building Code Requirements for Sarking
Australian building regulations specify when and what type of sarking must be installed.
NCC Sarking Requirements
- Tile roofs: Sarking mandatory for pitches below 20° in most climate zones
- Tile roofs (cyclone areas): Sarking required for all pitches in cyclone-prone regions
- Metal roofing: Condensation control required, usually satisfied by sarking
- Climate zones: Requirements vary across eight Australian climate zones
- Bushfire areas: BAL-rated sarking required in designated bushfire zones
AS/NZS 4200.2:2017 Compliance
This standard governs the selection and installation of roof sarking and underlays.
- Specifies minimum performance requirements for different materials
- Defines installation methods and overlap requirements
- Sets standards for vapor permeability and water resistance
- Provides guidance on sarking selection for different roof types
- Establishes testing protocols for material performance
⚠️ Building Approval
Failure to install required sarking, or using non-compliant materials, can result in failed building inspections, insurance issues if water damage occurs, and potential requirement to remove roofing to retrofit sarking. Always verify requirements before commencing roofing work.
Benefits of Installing Roof Sarking
Properly installed sarking delivers numerous advantages that justify its cost and installation requirements.
Water Protection Benefits
- Secondary weather barrier: Catches water from broken tiles or wind-driven rain
- Leak prevention: Prevents minor roof issues from causing interior damage
- Condensation control: Manages moisture vapor preventing structural rot
- Dust and particle barrier: Stops fine dust entering living spaces
- Extended roof life: Protects structural timber from moisture damage
Energy Efficiency Benefits
- Radiant heat reflection: Foil sarking reflects up to 97% of radiant heat
- Improved insulation performance: Creates necessary air gap for insulation effectiveness
- Reduced cooling costs: Can lower summer cooling costs by 15-30%
- Winter heat retention: Reduces heat loss through roof cavity
- Comfort improvement: More stable indoor temperatures year-round
Structural Protection
- Shields timber battens and rafters from moisture and UV exposure
- Prevents wood rot and degradation from condensation
- Protects against termite-attracting moisture conditions
- Extends lifespan of entire roof structure by decades
💰 Cost vs Benefit Analysis
Reflective sarking costs $1,600-$3,000 for typical 200m² Sydney home. Energy savings of $200-$400 annually provide 4-8 year payback. Combined with water protection preventing potential $10,000+ water damage repairs, sarking delivers exceptional return on investment.
Proper Installation Standards
Correct installation is critical for sarking to perform its intended functions effectively.
Installation Requirements
- Direction: Install perpendicular to rafters/battens, starting at eave working upward
- Overlap: Minimum 150mm horizontal overlap, 100mm at vertical joints
- Fixing: Secure with appropriate staples or battens at specified spacing
- Tension: Install taut but not stretched to prevent tearing
- Penetrations: Seal all penetrations with appropriate tape or sealant
- Valley treatment: Extra care required with appropriate overlaps and sealing
Air Gap Requirements
For reflective sarking to achieve rated thermal performance, proper air gaps are essential.
- Above sarking: Minimum 25mm air gap between sarking and roofing material
- Below sarking: Minimum 25mm gap between sarking and insulation/ceiling
- Counter battens: Often required to create above-sarking air gap
- Ventilation: Air gaps must be ventilated at eaves and ridge
- Total R-value: Only achieved when both air gaps present and ventilated
Common Installation Mistakes
- Insufficient overlap: Creates water entry points at joins
- Compressed air gaps: Eliminates thermal performance benefit
- Damaged surface: Tears or punctures compromise waterproofing
- Unsealed penetrations: Allows water ingress around pipes and services
- Incorrect drainage: Sarking must direct water to eaves, not into cavities
- Mixed materials: Using incompatible tapes or sealants
Sarking for Different Roof Types
Selection and installation vary based on roofing material and pitch.
Tile Roofing
- Mandatory: Required for pitches below 20° (varies by tile type)
- Recommended: Best practice for all tile roofs regardless of pitch
- Type: Reflective foil or breathable membrane both suitable
- Installation: Under battens for tile roofs
- Drainage: Must direct water to gutters via eave
- Condensation control: Essential for preventing underside condensation
- Type: Breathable membrane preferred to allow vapor escape
- Thermal benefit: Reflective types reduce heat transmission
- Installation: Above purlins with air gap below metal
Low-Pitch Roofs
- Enhanced protection: Critical for roofs below 15° pitch
- Self-adhering membranes: Often specified for superior waterproofing
- Sealed laps: May require taped or heat-sealed overlaps
- No exceptions: Sarking always mandatory for low-pitch roofs
Understanding how sarking contributes to thermal performance helps optimize energy efficiency.
R-Value Contributions
- Reflective foil (with air gaps): R-value 1.5-2.0
- Reflective foil (no air gaps): R-value 0.1-0.3 only
- Breathable membrane: R-value 0.1-0.3 (minimal thermal benefit)
- Combined with insulation: Total R-value is sum of all components with air gaps
Heat Reflection Properties
- Aluminum foil reflects up to 97% of radiant heat energy
- Reduces heat flow into roof cavity by 30-40%
- Lowers roof cavity temperatures by 10-15°C in summer
- Reduces heat gain into living spaces by 20-30%
BCA Energy Efficiency Compliance
- Sarking R-value counts toward total roof R-value requirements
- Helps meet minimum energy efficiency standards in all climate zones
- Can reduce required insulation bulk when combined properly
- Must be installed per manufacturer specifications to claim R-value
- Ensure minimum 25mm air gap above AND below reflective sarking
- Ventilate air gaps at eaves and ridge for air circulation
- Use reflective surface facing downward (toward living space)
- Combine with bulk insulation for optimal total R-value
- Install without compression, wrinkles, or contact with other materials
- Seal all penetrations to maintain air gap integrity
Retrofitting Sarking to Existing Roofs
Adding sarking to older homes without it requires careful planning and execution.
Assessment Considerations
- Check roof space accessibility for installation
- Verify structural integrity of existing battens and rafters
- Assess whether roof must be removed for installation
- Determine if re-roofing is more cost-effective than retrofit
- Consider combining with other upgrades (insulation, ventilation)
Retrofit Methods
- Under-batten method: Remove roof, install sarking, reinstall or replace roofing
- Over-rafter method: Install from roof cavity (limited applications)
- During re-roof: Most cost-effective time to add sarking
Retrofit Costs
- During re-roof: Add $8-$15 per m² to re-roofing cost
- Standalone retrofit: $25-$45 per m² including roof removal/replacement
- Typical home (200m²): $1,600-$3,000 during re-roof, $5,000-$9,000 as retrofit
Maintenance and Longevity
While sarking is generally maintenance-free once installed, awareness of potential issues helps ensure long-term performance.
Expected Lifespan
- Reflective foil sarking: 50+ years when properly installed
- Breathable membranes: 40-50 years in normal conditions
- Traditional building paper: 20-30 years before replacement needed
- Self-adhering membranes: 30-50 years depending on quality
Potential Issues
- Mechanical damage: From foot traffic during maintenance or renovations
- Rodent damage: Mice or rats can tear sarking seeking nesting material
- UV degradation: If exposed to sunlight during installation delays
- Corrosion: Metal components in coastal environments (use appropriate grade)
- Installation defects: Improper installation reducing performance
Inspection Points
- Check for visible damage when accessing roof space
- Look for moisture staining indicating sarking failure
- Verify sarking drains properly to eaves
- Ensure air gaps remain uncompressed
- Inspect after severe weather events for damage
Conclusion
Roof sarking is far more than a building code requirement—it's an essential component that protects your home's structural integrity, enhances energy efficiency, and provides critical defense against water damage and condensation. Whether building new, renovating, or replacing an existing roof, investing in quality sarking properly installed to Australian standards delivers substantial long-term value and peace of mind.
Understanding the different sarking types, their specific benefits, and proper installation requirements empowers you to make informed decisions about your roofing system. While the upfront cost may seem significant, the combination of energy savings, water protection, and structural preservation makes sarking one of the most cost-effective investments in your building envelope.
Planning a new roof or concerned about your existing sarking? Your Local Roofers provides expert advice on sarking selection and professional installation complying with all Australian standards. Our experienced team ensures your roof sarking delivers maximum protection and thermal performance for your Sydney home. Contact us today for a comprehensive roofing assessment and sarking recommendations tailored to your property.
Need Help with Your Roof?
Our experts are ready to help you with maintenance, repair, or restoration of your roof.