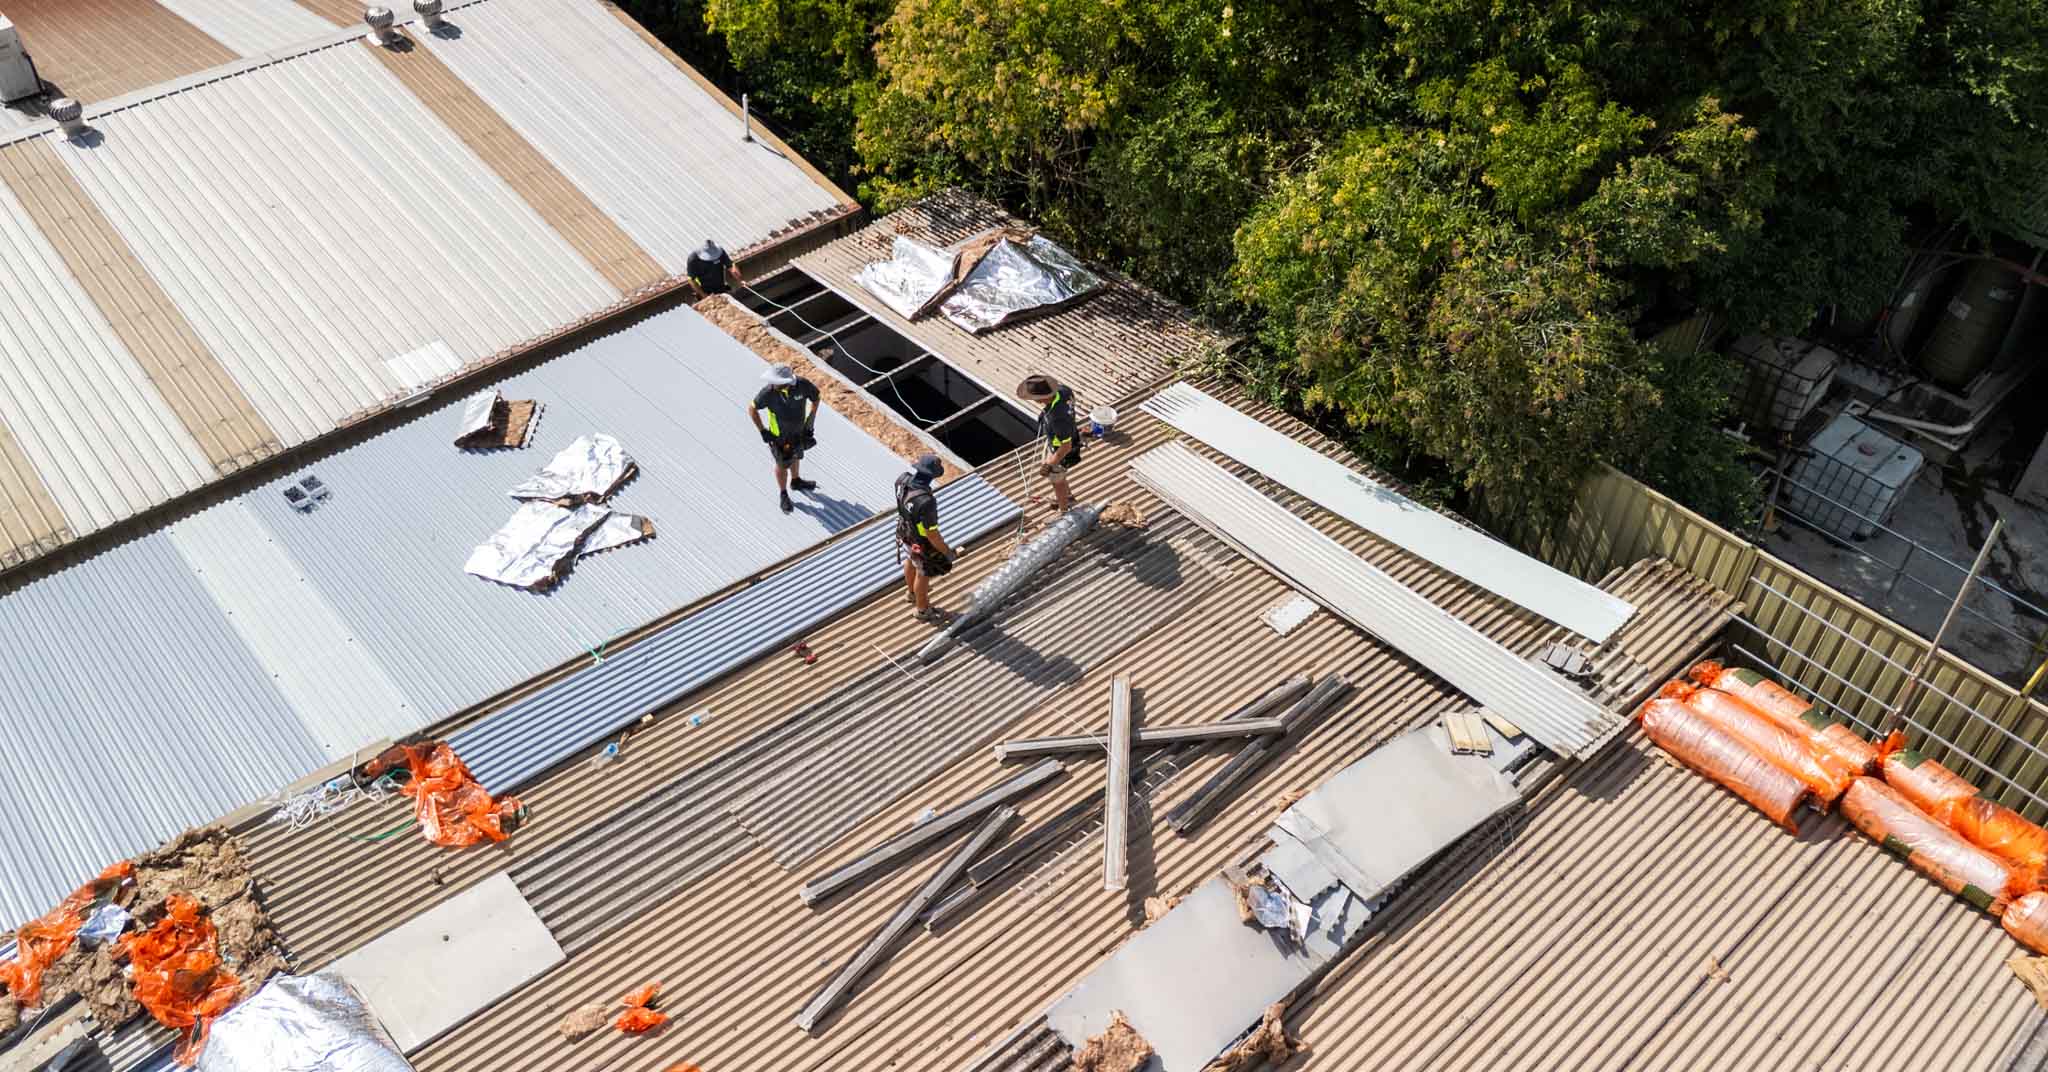
Inspection
Early Warning Signs of Roof Problems
Learn to identify the early signs of roof problems before they become costly repairs.


Complete guide to roof leak detection in Sydney. Learn detection methods, thermal imaging, water testing, common leak sources, and professional leak finding techniques.
Roof leaks are often elusive—water can travel meters from its entry point before appearing on ceilings, making source identification frustratingly difficult. A visible ceiling stain might result from a leak several meters away on a completely different roof plane. Without proper detection methods, attempts to fix leaks can waste thousands on unnecessary repairs while the actual problem persists. This comprehensive guide covers professional leak detection methods, common leak sources, and effective strategies for finding even the most elusive roof leaks in Sydney homes.
Water follows paths of least resistance, traveling along rafters, battens, sarking, and other structural elements before finally dripping onto ceilings. This water migration means leak entry points are often surprisingly distant from interior damage. Compounding the difficulty, intermittent leaks only appear during specific conditions (heavy rain, wind-driven rain, ice damming in cold areas), while some leaks take hours or days to appear after rainfall as water slowly migrates through insulation.
Multiple entry points can converge to a single ceiling stain, obscured paths hide water movement behind walls and under insulation, and seasonal variation changes leak behavior as materials expand/contract. Professional leak detection accounts for these complexities, using systematic methods to trace water to its actual source.
Valleys concentrate water flow making them high-stress areas prone to leaks. Common failure modes include rusted or corroded valley flashings, debris dams causing water backup, separated joints in valley flashing, poor installation with inadequate overlap, and inadequate valley width for water volume. Symptoms: Water stains appear along ceiling lines corresponding to valley locations, often worsening during heavy rain.
Any roof penetration creates a potential leak path. Problem areas include vent pipe flashings (cracked rubber boots, deteriorated seals), skylight flashings (failed seals, cracked acrylic), chimney flashings (separated step flashings, deteriorated mortar joints), whirlybird or vent installations (poor flashing, inadequate sealing), and satellite dish or antenna mounts (penetrations through waterproofing). Symptoms: Stains appearing near or around penetration locations, often circular or irregular patterns.
Ridge caps experience significant wind uplift and thermal movement. Issues include deteriorated bedding and pointing, inadequate or failed mechanical fixings, gaps under ridge caps allowing water ingress, and tile or sheet displacement exposing substrate. Symptoms: Long linear stains running along ceiling corresponding to ridge or hip lines.
Where roofs meet walls, proper flashing is critical. Problems arise from headwall flashing separation from wall, inadequate flashing turn-up height (should be 150mm+ above roof surface), missing or damaged step flashings, cracks in wall cladding above flashing, and sealant failure between flashing and wall. Symptoms: Water stains on walls or ceilings near wall/roof intersections, often worse with wind-driven rain.
Direct breaches in roof covering allow immediate water entry. Causes include storm damage (wind, hail, falling branches), foot traffic damage from roof access, age deterioration and brittleness, inadequate fixing allowing displacement, and manufacturing defects. Symptoms: Stains appearing quickly after rain, often directly below damaged area (but not always due to water migration).
Many roof details rely on sealants for waterproofing. Sealant failures occur from UV degradation (most sealants last 5-15 years), thermal movement causing separation, improper application or surface preparation, incompatible materials, and age-related hardening and cracking. Symptoms: Intermittent leaks that worsen over time, often associated with specific wind directions or rainfall intensities.
The "uphill rule": Water always enters above where it appears. When investigating ceiling stains, examine roof areas uphill (higher) than the stain location, following rafter lines and roof slopes to find potential entry points.
Interior examination: Map all ceiling stains noting location, size, and color (fresh stains are darker, old stains yellowish). Check roof cavity during rain if safely accessible. Follow rafter lines from stains upward toward roof. Look for active dripping or water trails. Photograph everything for documentation and professional consultation.
Exterior examination: Use binoculars to inspect roof from ground. Look for obvious damage, displaced materials, or gaps. Check valleys for debris or visible damage. Examine all penetrations and flashings. Note areas corresponding to interior stain locations. Document with photos showing relationship between interior stains and exterior areas.
Monitor when leaks occur: During any rain (indicates major breach), only during heavy rain (smaller leak or drainage issue), only with wind-driven rain (flashing or edge detail problem), hours after rain stops (slow migration through insulation), or seasonally (expansion/contraction issues). Timing and conditions provide valuable diagnostic information for professionals.
In accessible roof cavities during dry weather, trace visible water stains backward along rafters, sarking, or structural elements. Mark suspected entry areas with chalk or tape. Document path with photos. Note where water changes direction or fans out. This tracing helps narrow search areas for professional investigation.
Never access your roof or roof cavity without proper safety precautions. Wet roof surfaces are extremely slippery. Roof cavity access requires care to avoid stepping through ceilings. Leave roof access to professionals with proper equipment and insurance. DIY investigation should be limited to safe ground-level observation and interior examination.
Professional water testing isolates leak sources by controlled water application. The process involves starting at lowest suspected area and working upward, applying water to small sections systematically, maintaining water application for extended periods (15-30 minutes per section), having observer inside monitoring for leaks, documenting exact application location when leak appears, and repeating to confirm leak source.
Water testing requires two professionals (one applying water, one observing), proper roof access and safety equipment, patient systematic approach (rushing misses subtle leaks), and understanding of water migration patterns. When performed correctly, water testing identifies even difficult intermittent leaks.
Infrared cameras detect temperature differences caused by moisture in roof structures. Wet insulation or materials appear cooler than dry areas, creating visible patterns on thermal images. The process involves scanning entire roof from exterior or interior, identifying anomalous cold spots indicating moisture, correlating thermal patterns with visual inspection findings, and verifying findings with additional investigation.
Advantages: Non-invasive detection, identifies hidden moisture, covers large areas quickly, and detects leaks before visible damage. Limitations: Requires temperature differential (works best morning/evening), skilled interpretation needed, indicates moisture location not necessarily leak source, and can be affected by other factors (poor insulation, air gaps). Cost: $400-$800 for residential thermal scan.
For flat roofs with membranes, electronic leak detection (ELD) uses low-voltage electricity to find breaches. A conductor is placed on wet membrane, charged with electricity, and detector probe finds where current escapes through holes or gaps. This method precisely locates small holes invisible to visual inspection, works on various membrane types, and is extremely accurate for flat roof leaks. However, it requires wet conditions, specialized equipment, and trained technicians. Cost: $500-$1,200 for typical residential application.
Non-toxic smoke introduced into roof cavity under slight pressure escapes through leak points, visible externally. This method quickly identifies multiple leak sources, works well for flashing leaks, and provides dramatic visual confirmation. However, it requires access to roof cavity, sealed roof cavity (or controlled testing area), and windy conditions can interfere with testing. Cost: $300-$600 per test session.
Professional-grade moisture meters detect moisture content in building materials. Pin-type meters penetrate materials measuring electrical resistance, while pinless meters use electromagnetic scanning. These tools confirm suspected wet areas, track moisture extent, monitor drying progress after repairs, and provide objective moisture data. However, they indicate moisture presence, not leak source, and skilled interpretation is necessary. Cost: Part of professional inspection ($250-$450).
Comprehensive history taking includes when leak first appeared, pattern of occurrence (constant, intermittent, seasonal), associated weather conditions, location and extent of interior damage, any previous repairs attempted, roof age and maintenance history, and recent weather events or roof work. This information guides investigation strategy.
Document all interior water damage with photos and measurements. Access roof cavity if safely possible noting water stains on structure, damp or wet insulation, mold or mildew growth, and evidence of previous leaks. Map damage locations relative to roof features. Create diagram showing relationship between interior damage and roof layout.
Systematic roof examination covers general roof condition (material age, deterioration), specific areas above interior damage, all potential weak points (valleys, penetrations, flashings), drainage patterns and potential water pooling, and surrounding trees or structures affecting roof. Document with comprehensive photos including overview shots and close-ups of suspect areas.
Based on information gathered, develop theories about probable leak sources considering common failure modes for roof type, relationship between interior damage and roof features, observed damage or deterioration patterns, and leak timing and conditions. Professionals often identify 2-3 most likely sources to investigate further.
Apply appropriate detection methods: Water testing for suspected flashing or penetration leaks, thermal imaging for large-area moisture detection, electronic detection for membrane leaks, or moisture meters for confirming wet areas. Systematic approach tests one hypothesis at a time, confirming or eliminating each potential source.
Once leak source identified, confirm with additional testing if possible. Document leak source with photos and video. Explain findings to homeowner including water entry point, migration path to interior damage, contributing factors, and recommended repairs. Provide written report for repair contractors and insurance if applicable.
Leaks appearing only under specific conditions are challenging to detect. Strategies include monitoring leak patterns carefully (wind direction, rainfall intensity), attempting to replicate conditions during testing, thermal imaging after rainfall when conditions aren't suitable for water testing, and patience—multiple investigation sessions may be necessary. Some intermittent leaks require monitoring over weeks or months to identify patterns.
Single ceiling stains can result from multiple entry points. Systematic testing isolates each source. Repair highest/most obvious leaks first, then retest to identify remaining sources. Complete resolution may require several repair cycles. Comprehensive approach addresses all sources, not just most obvious.
Not all leaks cause immediate ceiling damage. Water may accumulate in roof cavity, wet insulation (reducing effectiveness), cause mold growth, or damage roof framing. Detection requires roof cavity inspection, thermal imaging from exterior or interior, moisture meter scanning, and attention to subtle signs (musty odors, mold smell, unexplained humidity). These hidden leaks cause significant long-term damage despite lack of obvious stains.
While detection costs may seem significant, they prevent wasted repair expenses. Without proper detection, homeowners often spend $1,000-$5,000 on repairs that don't address actual leak source, requiring additional repairs later. Spending $500-$800 on proper detection ensures repairs target the correct problem—saving money overall and avoiding ongoing damage.
Preventive maintenance dramatically reduces leak risk: Annual professional roof inspection identifying vulnerabilities before failure, gutter cleaning preventing overflow and backup, prompt repair of minor damage before it escalates, re-bedding and repointing on schedule (every 15-25 years), flashing maintenance and sealant renewal (every 10-15 years), tree trimming preventing debris accumulation and impact damage, and documentation of all maintenance for warranty purposes.
Many leaks result from poor initial installation. When replacing roofs or making repairs, insist on quality workmanship including proper flashing installation per manufacturer specs, adequate sealant application with compatible products, correct material specifications for application, compliance with building codes and standards, and comprehensive warranties backed by reputable contractors. Cheap installation costs far more long-term through premature failures and leaks.
Consider preventive upgrades during maintenance: Upgrade valley flashings during tile replacement, install mechanical ridge fixings during re-bedding, enhance penetration flashings when accessible, improve drainage with additional downpipes, and apply protective coatings extending material life. Strategic upgrades prevent future leaks at reasonable cost.
Look for professionals with specific leak detection experience and training, access to specialized equipment (thermal cameras, moisture meters), proven track record of difficult leak resolution, detailed reporting and documentation, and willingness to explain findings clearly. Some roofing contractors offer leak detection, or engage specialist building inspectors with detection expertise.
Set realistic expectations: Some leaks are identified quickly, others require extensive investigation. Multiple visits may be necessary for intermittent leaks. Detection doesn't include repairs (separate service/quote). Fees are for investigation time and expertise, not guaranteed results (though quality professionals find most leaks). Understand you're paying for professional expertise and equipment, not just time on site.
Once leak source is identified, obtain repair quotes from qualified contractors. Provide detection report to repair contractors. Ensure repairs address identified source completely. Request water testing after repairs to confirm resolution. Maintain documentation of detection findings and repairs. Monitor area after heavy rain to verify leak is truly resolved.
Effective leak detection requires systematic approach, specialized knowledge, and often professional equipment. While homeowners can perform preliminary investigation from ground level and interior spaces, difficult or persistent leaks warrant professional detection services. The investment in proper leak detection prevents wasted repair costs and ensures problems are truly resolved.
Key takeaways: Don't assume leak location based solely on ceiling stains. Understand water migration makes source identification challenging. Document everything—photos, timing, conditions, locations. Attempt safe DIY preliminary investigation. Engage professionals for systematic detection when needed. Use appropriate detection methods for leak type and conditions. Verify repairs address actual leak source, not symptoms. Implement preventive maintenance to reduce future leak risk.
Remember: finding the leak is often more challenging than fixing it. Invest in proper detection to ensure repairs are successful the first time.
Battling a difficult roof leak in Sydney? Contact our leak detection specialists for systematic investigation using advanced methods—we find the source and provide solutions.
Our experts are ready to help you with maintenance, repair, or restoration of your roof.
Related articles on this topic
Learn to identify the early signs of roof problems before they become costly repairs.
Complete price guide for different types of roof repairs in Sydney.
Compare Colorbond, terracotta, concrete and other materials to find the perfect one for your home.
Essential tips to prepare your roof for Australian winter rains and storms.

From urgent make-safes to scheduled remedial works, we deliver clear scopes, photo documentation and workmanship warranties, keeping your operations safe and minimising downtime.