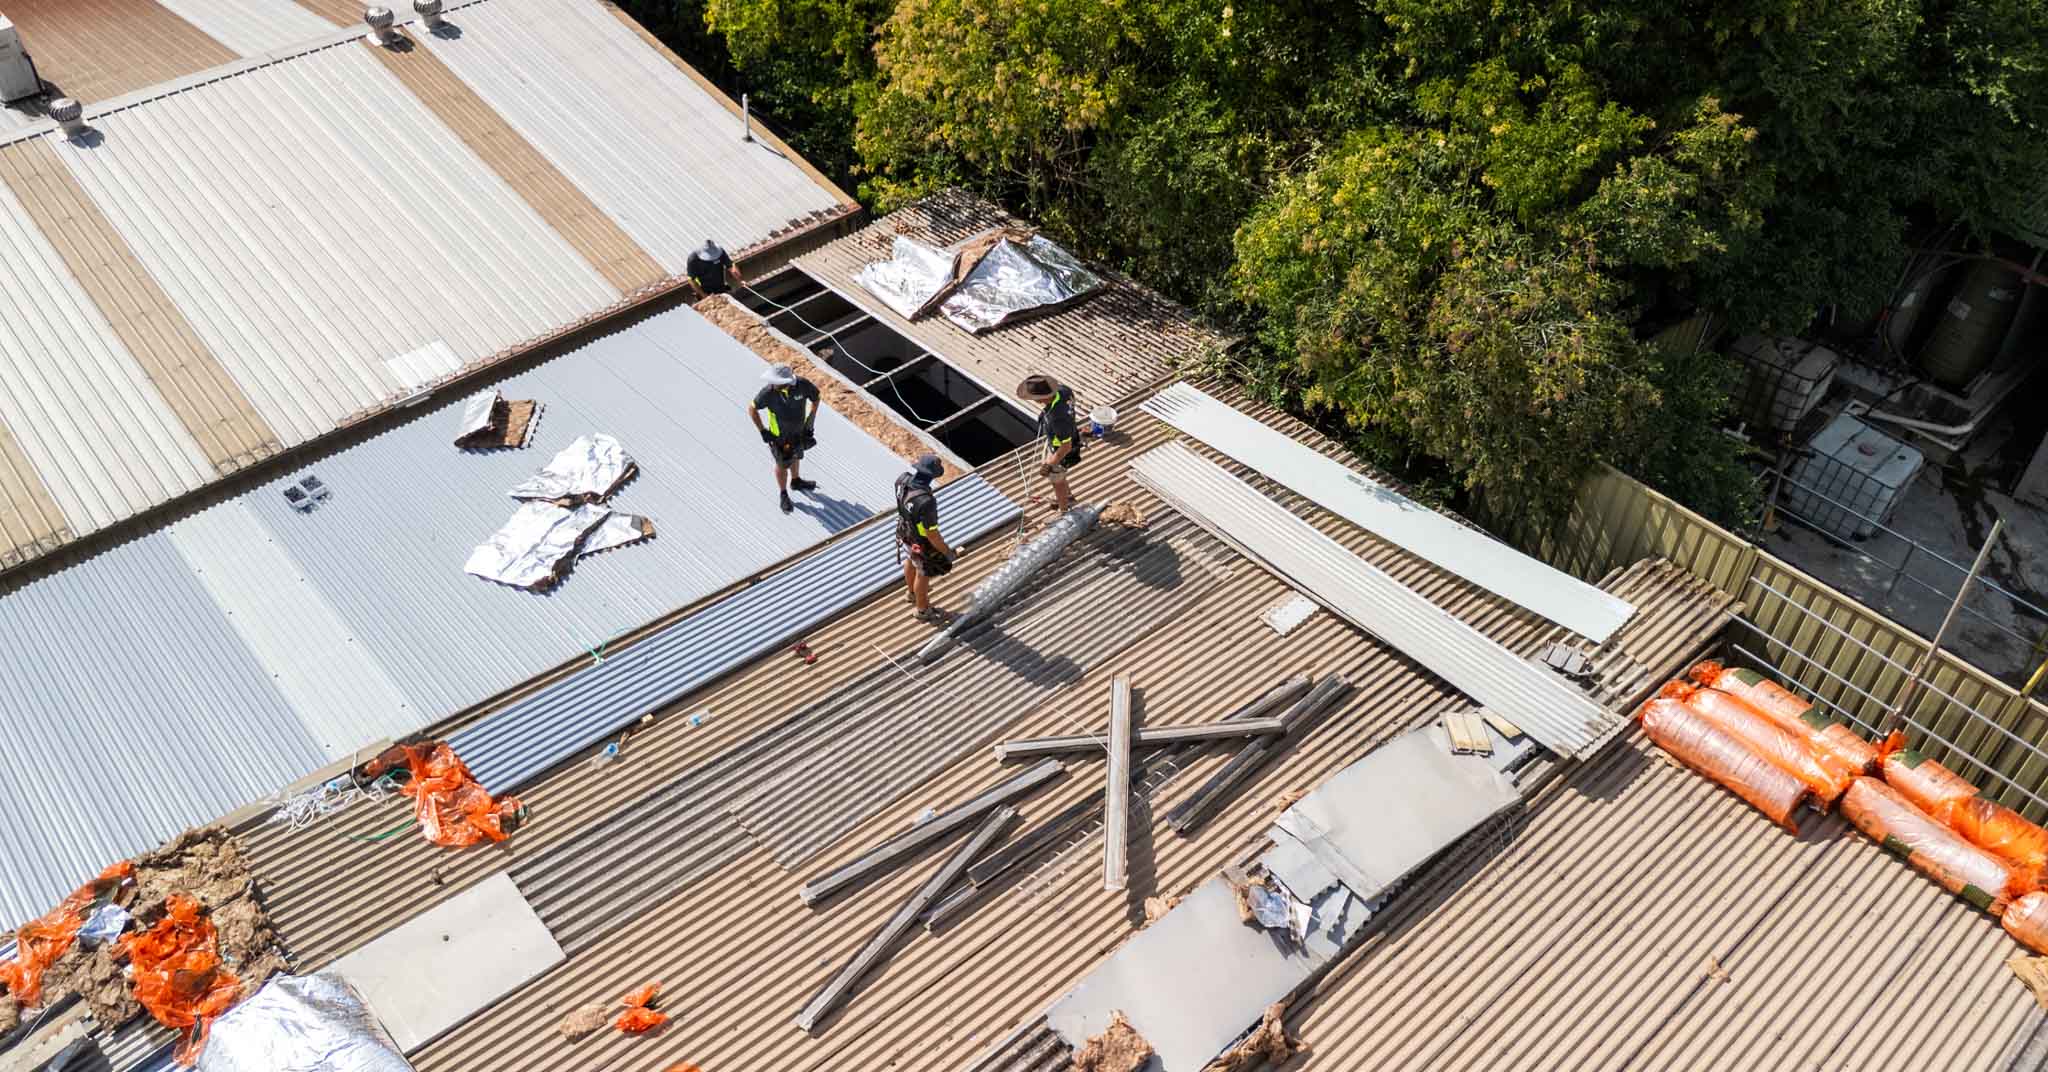
Inspection
Early Warning Signs of Roof Problems
Learn to identify the early signs of roof problems before they become costly repairs.


Expert guide to roof waterproofing membranes in Sydney. Learn about TPO, EPDM, PVC, bitumen membranes, applications, installation processes, and costs.
Waterproof membranes are the critical barrier protecting your home from water ingress, serving as both primary waterproofing on flat roofs and secondary protection beneath tiles or metal roofing. With Sydney receiving an average 1,200mm of rainfall annually—including intense storm events—proper waterproofing is essential for preventing costly water damage. This comprehensive guide covers everything Sydney homeowners need to know about selecting, installing, and maintaining roof waterproof membranes.
A waterproof membrane is a continuous, impermeable layer designed to prevent water penetration while often allowing water vapour to escape (breathability). In Australian roofing, membranes serve two primary functions: primary waterproofing for flat or low-pitch roofs where water movement is slow, and secondary waterproofing (sarking) beneath pitched roofs as backup protection.
Quality membrane systems can last 20-50+ years depending on type, installation quality, UV exposure, and maintenance. Initial investment in premium membranes pays dividends through longevity, reliability, and reduced maintenance requirements.
TPO is a single-ply roofing membrane made from polypropylene and ethylene-propylene rubber, increasingly popular for commercial and residential flat roofs in Australia.
Advantages:
Disadvantages:
Best applications: Commercial flat roofs, residential flat or low-pitch sections, areas requiring high reflectivity, and when environmental considerations matter.
Cost: $80-$140 per m² fully installed including substrate preparation.
EPDM is a synthetic rubber membrane, proven over 50+ years worldwide. It's one of the most reliable flat roofing systems available.
Advantages:
Disadvantages:
Best applications: Large commercial roofs, residential flat roofs where heat absorption isn't critical, budget-conscious projects requiring proven durability, and areas with extreme weather variations.
Cost: $65-$110 per m² fully installed including accessories.
PVC membranes have been used in Europe for decades and are gaining popularity in Australia for commercial applications.
Advantages:
Disadvantages:
Best applications: Commercial roofs with grease exposure (restaurant roofs), buildings requiring superior fire ratings, complex roof geometries, and when chemical resistance is needed.
Cost: $90-$150 per m² fully installed including preparation.
Traditional Australian waterproofing using modified bitumen sheets torch-applied in layers. Still widely used despite newer alternatives.
Advantages:
Disadvantages:
Best applications: Residential balconies and decks, internal wet areas, traditional roof applications, and budget-conscious projects.
Cost: $55-$95 per m² for standard installation including two layers.
Liquid membranes are applied as a liquid and cure to form a seamless, monolithic barrier. Ideal for complex shapes and details.
Advantages:
Disadvantages:
Best applications: Roof repairs and patches, complex details around penetrations, small or irregularly shaped areas, and over-coating existing membranes.
Cost: $70-$130 per m² depending on product and thickness required.
For Sydney's climate, TPO and EPDM membranes offer the best combination of durability, UV resistance, and longevity. Torch-on membranes work well for budget projects but require more frequent maintenance and eventual replacement.
Breathable membranes (sarking) allow water vapour to pass through while blocking liquid water. This prevents condensation buildup in roof cavities. Use beneath pitched roofs (tiles, metal sheets) as secondary waterproofing, in areas with significant temperature variations, and where roof cavity ventilation is limited. They prevent condensation damage to insulation and framing while maintaining waterproof barrier against leaks.
Popular products include Bradford Envirosarking, Kingspan Air-Cell, and Foilboard ThermalSarking. Cost ranges from $8-$18 per m² material only.
Non-breathable membranes create complete vapour and water barrier. Use for primary waterproofing on flat roofs, wet areas (bathrooms, balconies), and where complete moisture barrier is required. They provide maximum waterproofing but require careful design to prevent condensation issues.
Types include TPO, EPDM, PVC, and torch-on membranes. Cost ranges from $55-$150 per m² fully installed.
Membrane is bonded completely to substrate using adhesives or heat welding. This provides excellent wind resistance, no penetrations through membrane, suitable for high-wind areas, and professional appearance. However, it requires perfect substrate preparation, is difficult to remove/replace, and is more expensive installation. Best for permanent installations and high-exposure roofs.
Membrane is secured with plates and fasteners through to structure. This allows faster installation, easier repairs and replacements, and works on various substrates. However, fasteners penetrate membrane (sealed with plates/caps) and it's not suitable for high-wind cyclone areas. Best for commercial roofs and when substrate bonding is problematic.
Membrane is loose-laid and held down by gravel or pavers. This provides easy installation, simple repairs, and reflective white stone reduces heat. However, it requires substantial structural capacity (weight of ballast), is not suitable for steep slopes, and needs contained roof area. Best for large commercial flat roofs with adequate structure.
Clean surface thoroughly removing all debris, dirt, and contaminants. Repair all substrate damage, cracks, or deterioration. Ensure surface is smooth, dry, and stable. Install insulation if specified in design. Create positive drainage slopes (minimum 1:60 fall). Install edge flashings and termination bars. Prime surface if required by membrane system.
For sheet membranes (TPO/EPDM/PVC): Roll out sheets allowing for thermal expansion. Align with proper overlaps (typically 100-150mm). Secure using specified method (adhesive, fasteners, ballast). Heat-weld or tape seams per manufacturer specifications. Detail all penetrations and transitions. Install edge terminations and flashings.
For torch-on membranes: Roll out and position base layer. Heat bottom surface with torch while rolling forward. Ensure complete adhesion with no air pockets. Apply second layer with offset seams. Detail all penetrations with additional membrane pieces. Apply protective coating if required.
For liquid membranes: Apply primer if specified. Roll or spray first coat at specified thickness. Allow curing per manufacturer timeline. Apply second coat achieving total specified thickness. Reinforce critical areas with fabric if required. Apply top coat or UV protection if needed.
All penetrations (vents, pipes, drains) require careful detailing with membrane wrapped and sealed. Upstands at walls and parapets (minimum 150mm) must be properly terminated. Internal and external corners need reinforcement. Expansion joints require special detailing allowing movement. Roof edges need secure termination preventing wind uplift.
Inspect all seams and joints thoroughly. Test membrane with water ponding if possible. Verify all penetrations are properly sealed. Check edge terminations are secure. Conduct electronic leak detection for critical applications. Document installation with photos. Provide as-built drawings showing membrane layout.
Waterproof membrane installation is not suitable for DIY. Poor installation causes expensive leaks, structural water damage, and warranty voids. Specialist installers have proper equipment (heat welders, primers, rollers), manufacturer certification, knowledge of critical details, comprehensive warranties, and required insurance. Never compromise on waterproofing installation quality.
Recommended: TPO or EPDM for best longevity and performance. PVC for commercial applications requiring fire resistance. Torch-on for budget-conscious residential projects. Ensure proper falls (minimum 1:60), adequate drainage points, and regular maintenance access.
Recommended: Same as flat roofs for pitches below 3° (1:20). For 3-10° pitches, consider high-performance membranes or metal roofing. Ensure fall exceeds minimum for chosen system.
Recommended: Breathable sarking membranes under tiles or metal. Products meeting AS/NZS 4200.2 (water resistance, vapour permeability). Properly lapped and taped for water-shedding. Allows roof cavity to breathe while providing backup waterproofing.
Recommended: Torch-on membrane for traditional applications. Liquid membrane for complex shapes or over existing tiles. TPO/PVC for large deck areas. Ensure proper falls to drainage points and adequate edge details.
Inspect bi-annually (spring and autumn) for visible damage, blistering, or cracking. Check all seams and joints for separation. Verify flashings and terminations remain secure. Look for ponding water indicating drainage issues. Inspect after severe weather events. Document condition with photos.
Remove debris regularly (leaves, branches, accumulated dirt). Clean with mild detergent and soft brush (never pressure washers). Ensure drains remain clear and functional. Trim overhanging vegetation to prevent damage. Remove any sharp objects or hazards immediately.
Small punctures can be patched with compatible repair materials. Seam separation requires re-welding or new tape application. Flashing issues need professional assessment and repair. Any significant damage warrants immediate professional attention.
Apply UV-protective coatings when recommended (especially torch-on membranes). Maintain proper drainage preventing ponding. Keep surface clean and free of debris. Address minor issues before they escalate. Schedule professional inspections every 3-5 years. Document all maintenance and repairs for warranty purposes.
Cause: Inadequate falls, blocked drains, or structural sagging. Solution: Improve drainage, add drainage points, install tapered insulation to create falls, or address structural issues. Ponding significantly reduces membrane lifespan.
Cause: Trapped moisture or air beneath membrane, poor adhesion, or thermal cycling. Solution: Cut and patch small blisters, investigate and address moisture source, ensure proper ventilation, and re-adhere affected areas.
Cause: Poor initial welding/taping, thermal movement, or age deterioration. Solution: Re-weld heat-welded seams, apply new adhesive tape, reinforce with additional membrane strips, or consider full replacement if widespread.
Cause: Foot traffic, fallen objects, sharp debris, or animal damage. Solution: Patch with compatible material and proper overlap, heat-weld patches for TPO/PVC, ensure all edges sealed thoroughly, and address source to prevent recurrence.
Small residential flat roof (20-30m²): $2,500-$5,000. Medium residential flat roof (40-60m²): $4,500-$9,500. Large residential flat roof (80-120m²): $8,000-$18,000. Commercial roof (200-500m²): $20,000-$70,000.
All waterproof membrane installations must comply with Building Code of Australia (BCA) waterproofing requirements. AS 4654 sets standards for waterproofing membrane for external above-ground use. AS/NZS 4200.2 covers pliable building membranes and underlays. AS 2050 addresses installation requirements for roofing. Ensure membrane products meet required standards, installation complies with manufacturer specifications and building codes, and adequate warranties are provided and properly documented.
Selecting and installing the right waterproof membrane is one of the most critical decisions in roofing. While upfront costs may seem significant, quality membranes professionally installed provide decades of reliable protection against water damage that can cost tens of thousands to repair.
For Sydney conditions, TPO and EPDM membranes offer excellent long-term value for flat roofs, while breathable sarking membranes are essential secondary protection beneath pitched roofs. Always engage qualified, certified installers and never compromise on waterproofing quality—it's quite literally the foundation of a watertight home.
Need expert advice on waterproof membranes for your Sydney property? Contact our specialist team for professional assessment and a detailed quote tailored to your specific requirements.
Our experts are ready to help you with maintenance, repair, or restoration of your roof.
Related articles on this topic
Learn to identify the early signs of roof problems before they become costly repairs.
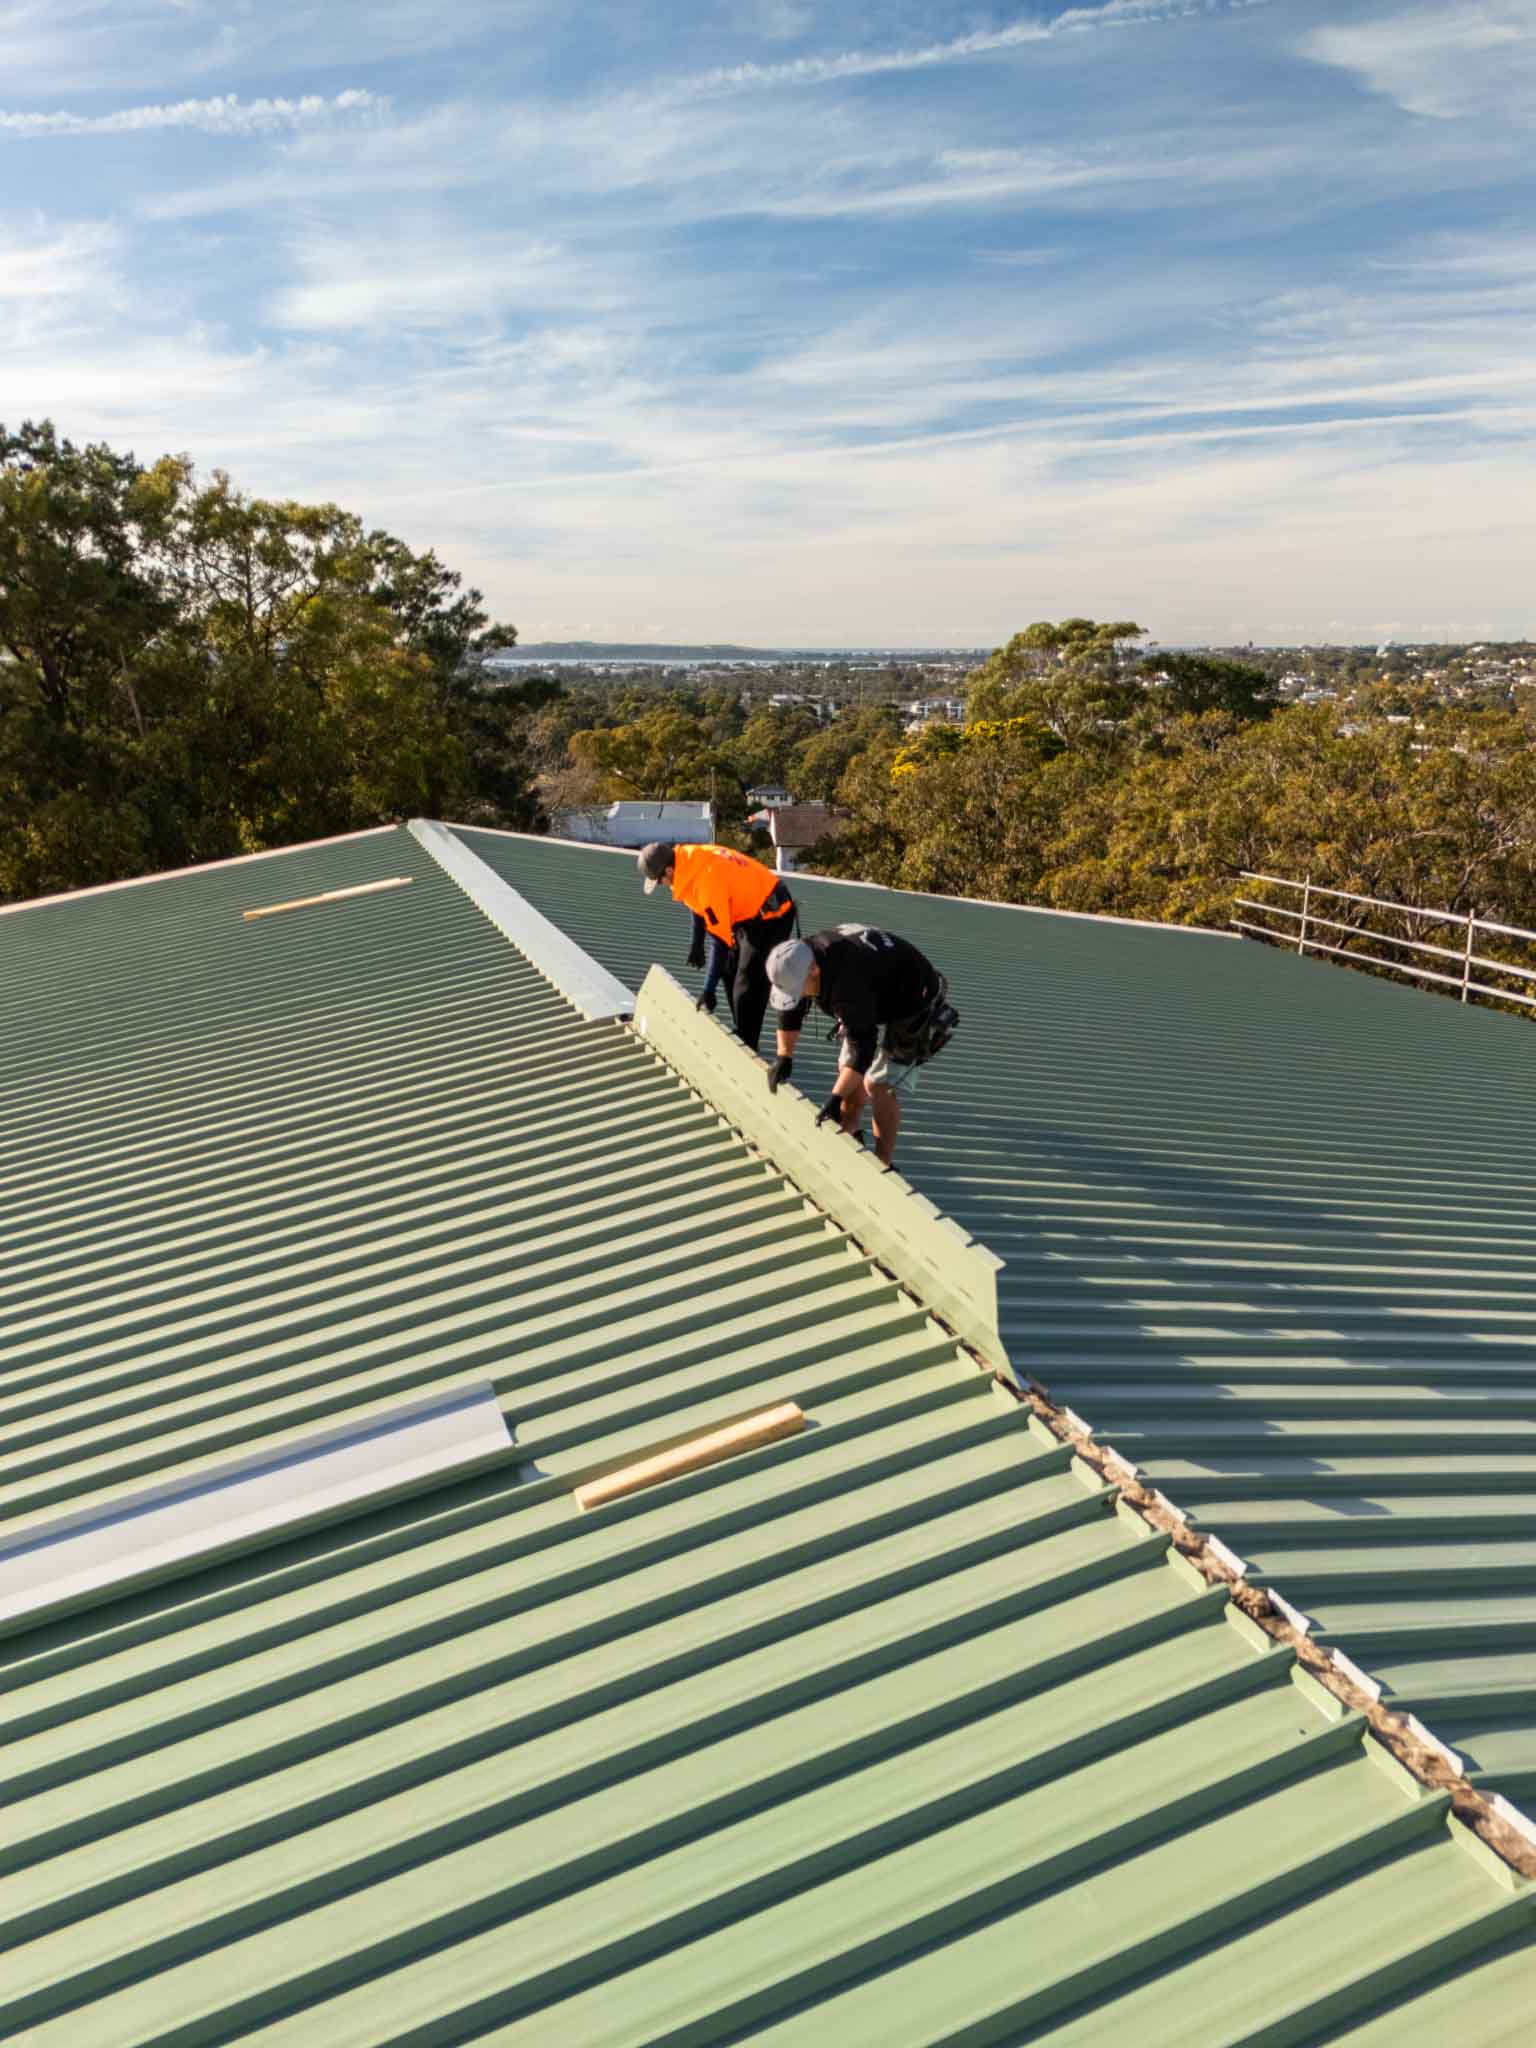
Complete price guide for different types of roof repairs in Sydney.
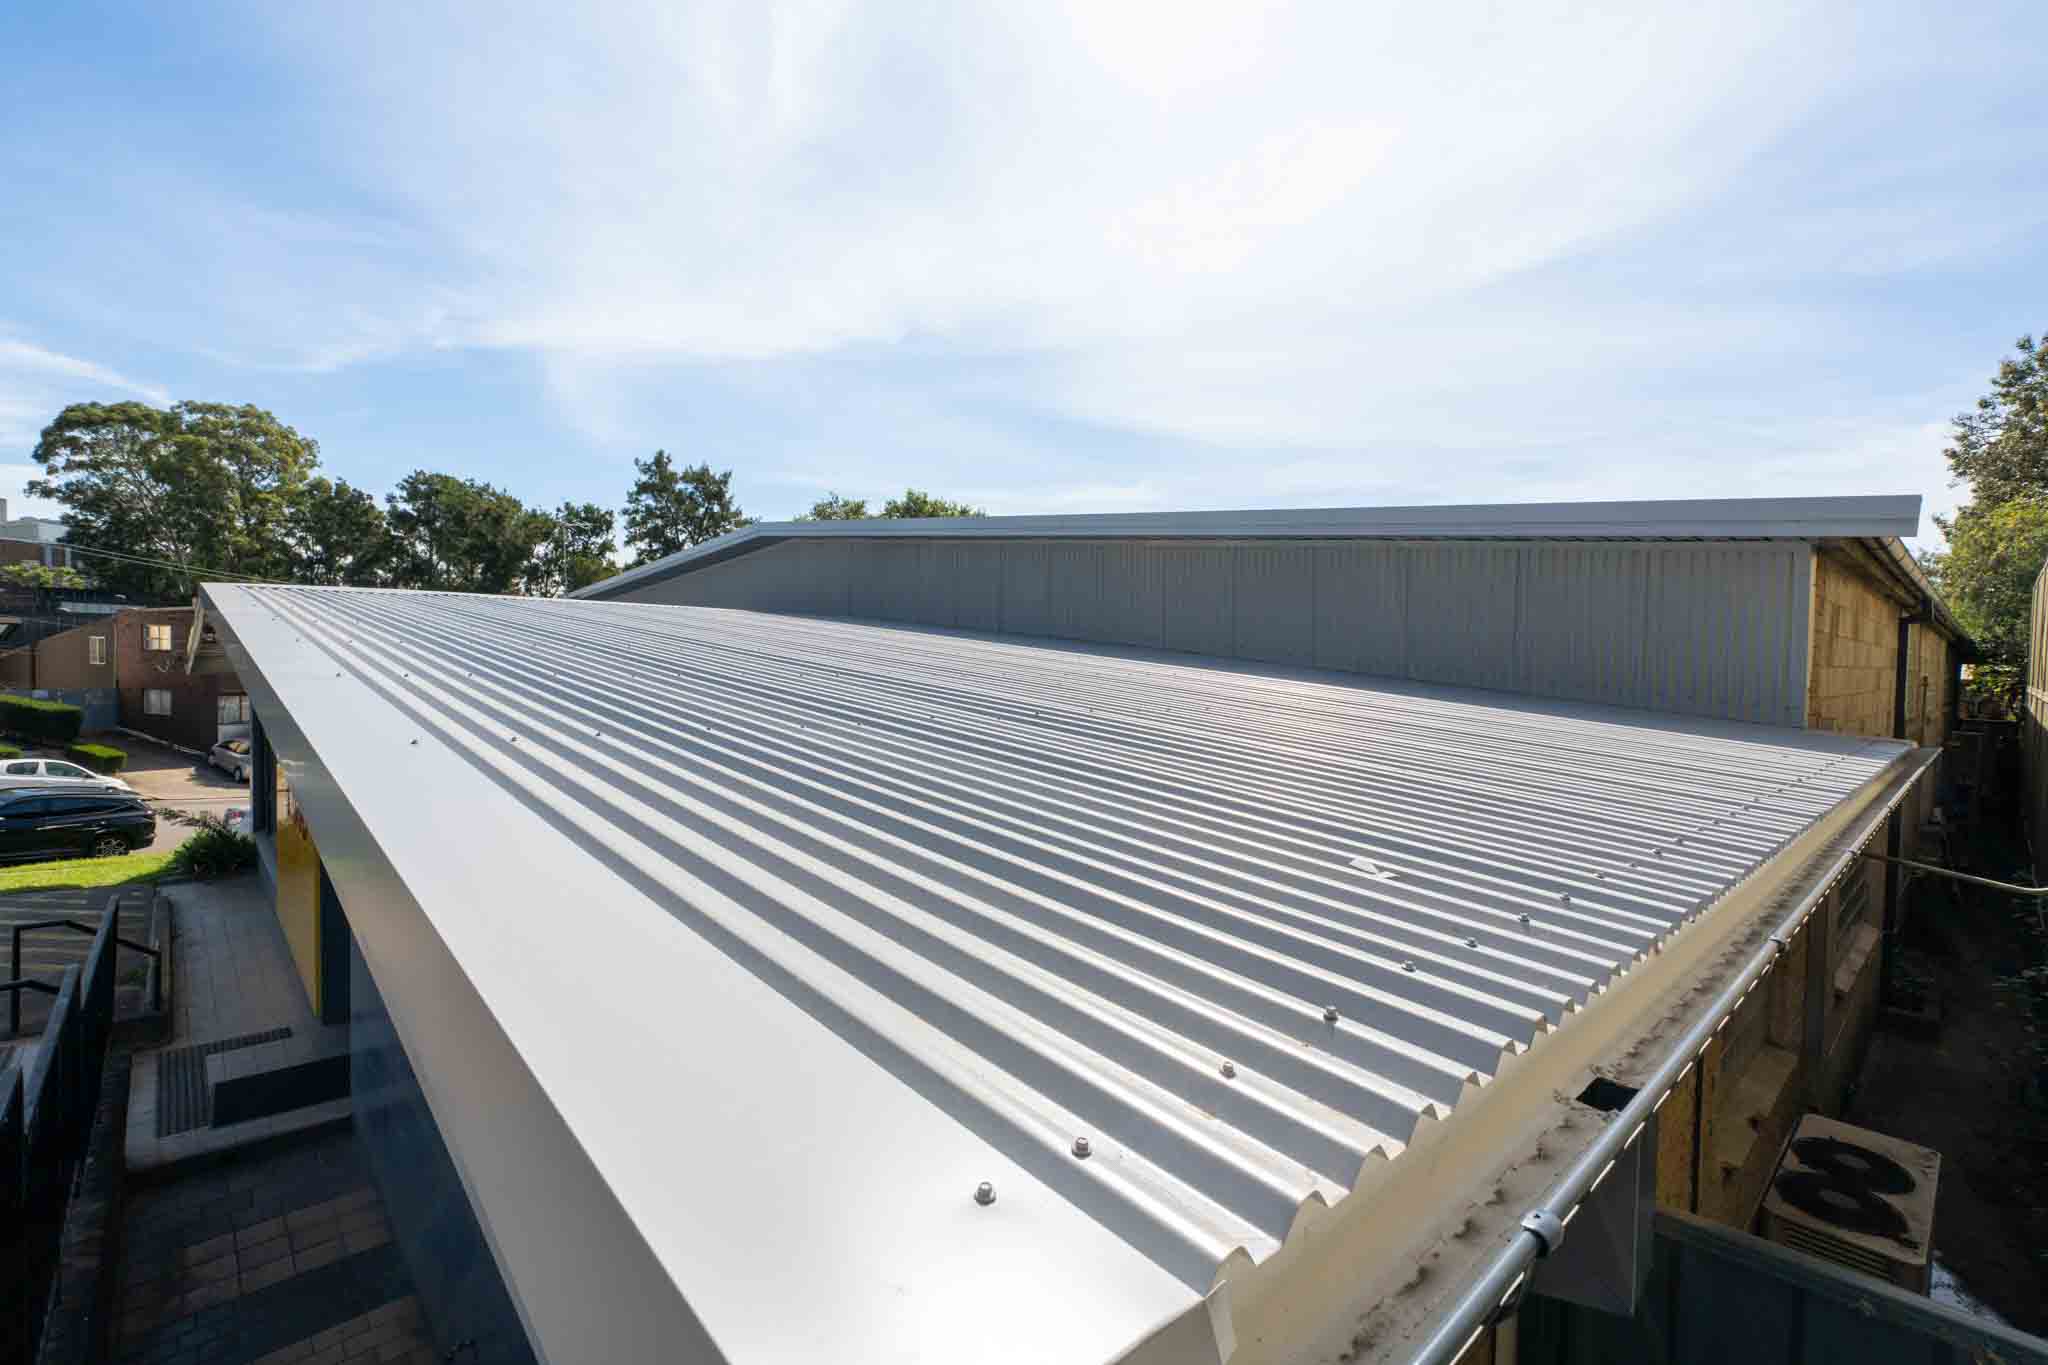
Compare Colorbond, terracotta, concrete and other materials to find the perfect one for your home.
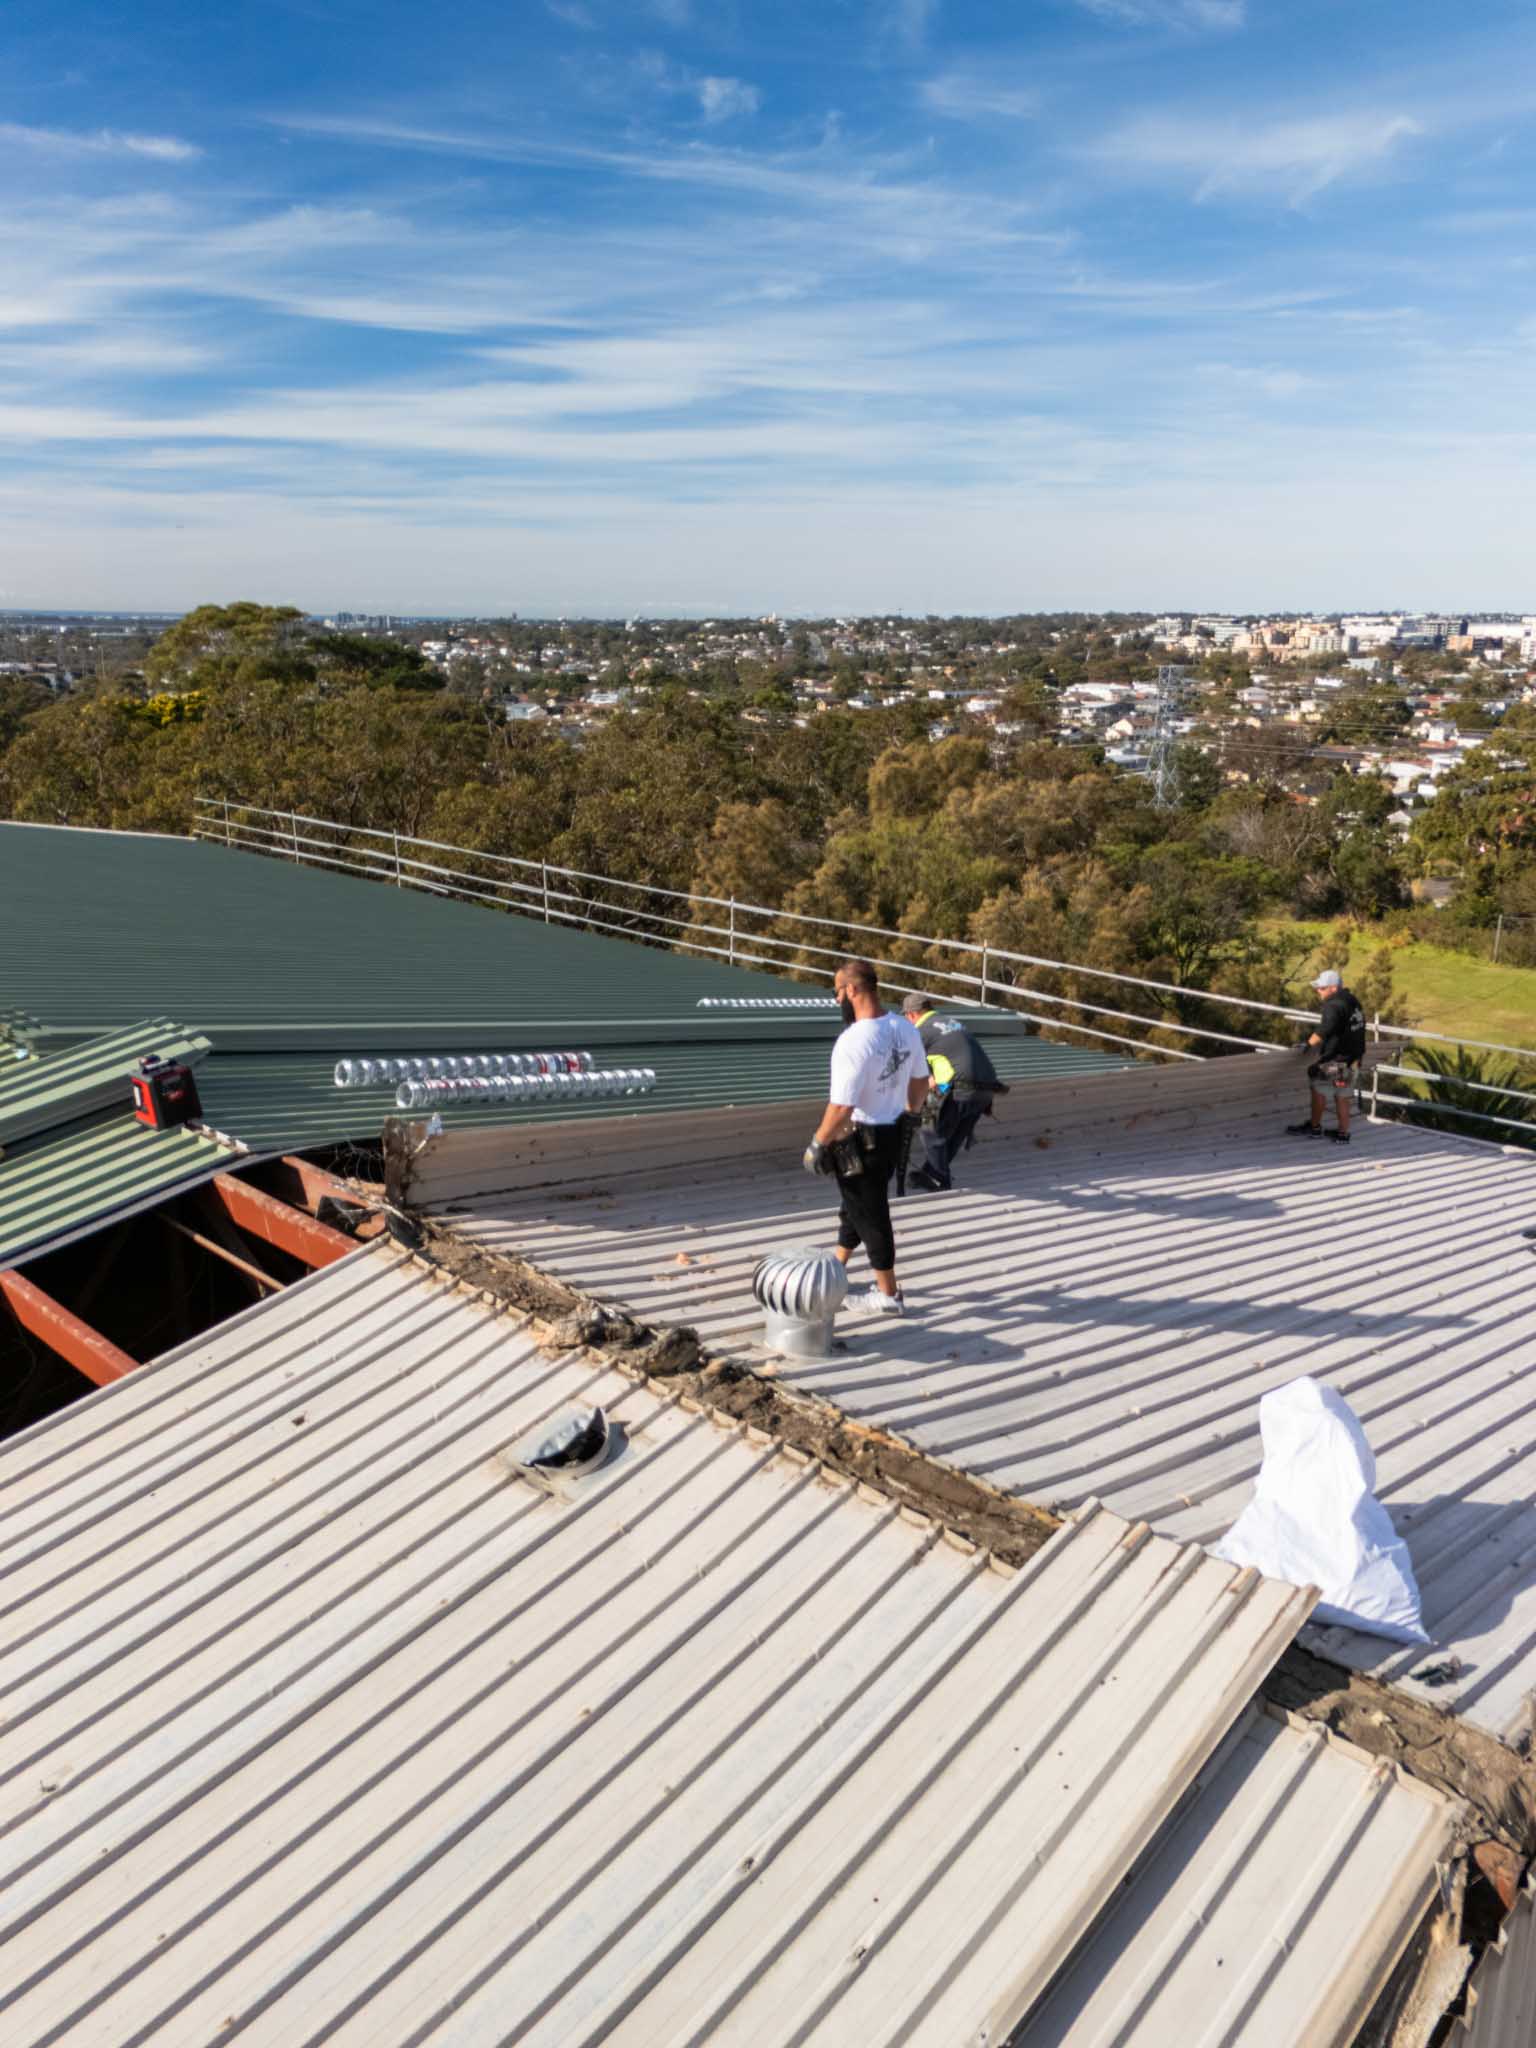
Essential tips to prepare your roof for Australian winter rains and storms.

From urgent make-safes to scheduled remedial works, we deliver clear scopes, photo documentation and workmanship warranties, keeping your operations safe and minimising downtime.