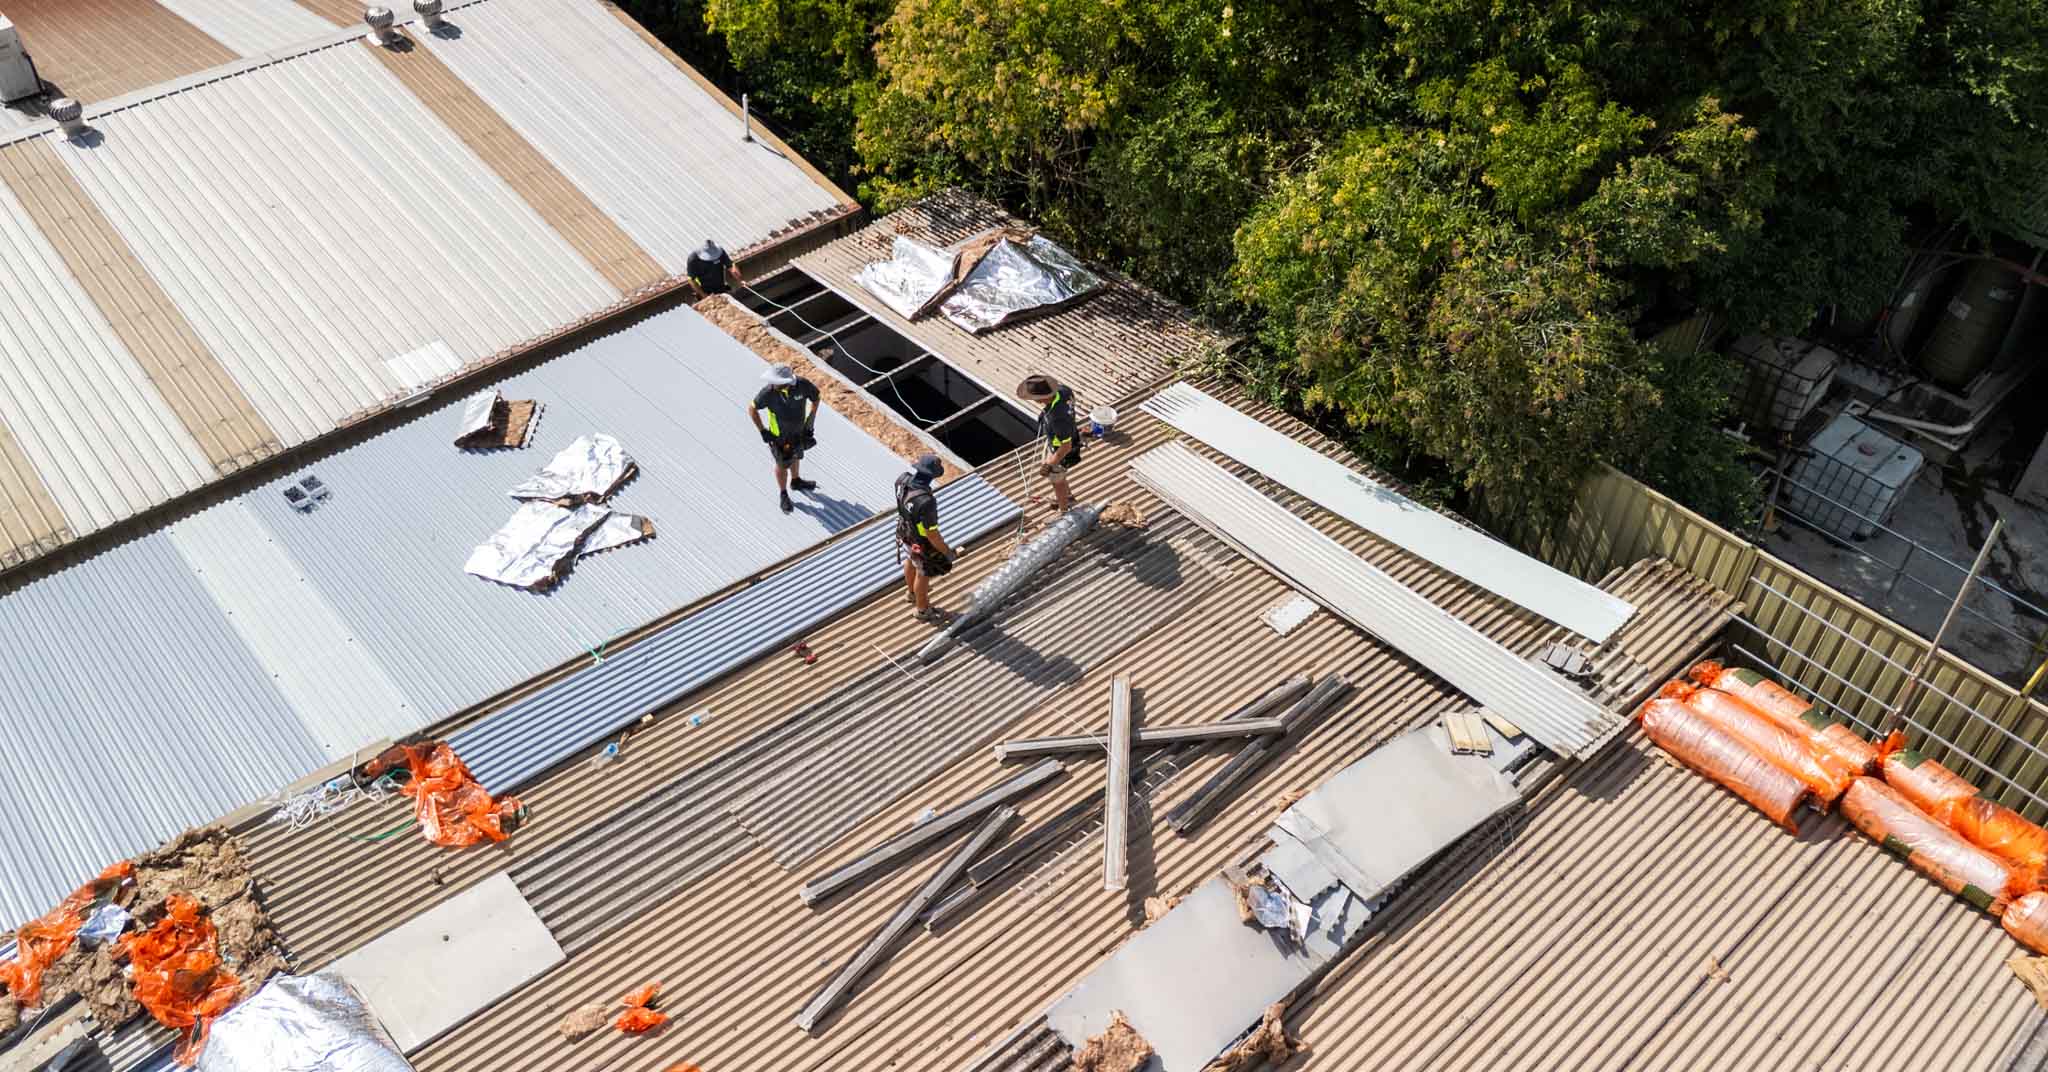
Inspection
Early Warning Signs of Roof Problems
Learn to identify the early signs of roof problems before they become costly repairs.



Professional guide to installing roof ventilation in Sydney. Learn about whirlybirds, ridge vents, tile vents, proper setup, flashing techniques, and costs.
Proper roof ventilation is essential for maintaining a comfortable, energy-efficient home while protecting your roof structure from moisture damage. In Sydney's climate, with hot summers and humid conditions, inadequate ventilation can lead to excessive heat buildup, condensation damage, premature material deterioration, and reduced energy efficiency costing hundreds annually in extra cooling. This comprehensive guide covers everything you need to know about selecting and installing effective roof ventilation systems.
Roof ventilation serves multiple critical functions. It removes hot air trapped in roof spaces (reducing ceiling temperatures by 10-15°C), prevents moisture buildup that causes rot and mould, protects insulation from condensation damage, extends roof material lifespan, reduces cooling costs by 15-25%, prevents ice damming in colder climates, and maintains manufacturer warranties on roofing materials.
In Sydney's summer, unventilated roof spaces can reach 65-70°C, radiating heat into living spaces and overworking air conditioning systems. Proper ventilation maintains roof cavity temperatures at ambient +10-15°C, providing significant comfort and energy benefits.
Whirlybirds are rotating wind-driven ventilators that extract hot air through centrifugal force. They're Australia's most popular ventilation solution, offering excellent air extraction rates (up to 12,000m³/hr per unit in good wind), no operating costs, simple installation, proven reliability over 30+ years, and quiet operation when properly maintained.
Best applications include tile and metal roofs, residential and light commercial, moderate to high wind areas, and extraction-focused ventilation. Typical installation requires 1 whirlybird per 50-75m² of roof space. Quality units (Edmonds, Ampelite) cost $350-$600 installed.
Ridge vents run along the entire roof peak, providing continuous exhaust ventilation. They offer even air extraction across roof length, low-profile appearance, no moving parts to maintain, excellent for hot air removal (heat rises naturally), and compatibility with soffit intake vents.
Best for metal roofs, new construction or re-roofing projects, architectural designs where appearance matters, and when combined with proper intake vents. Ridge vent installation costs $85-$150 per linear metre including materials and labour.
Tile vents replace individual roof tiles with ventilated versions, providing low-profile ventilation for tile roofs. Benefits include minimal visual impact, no roof penetration or cutting, quick installation, effective for both intake and exhaust, and durability matching tile roof life.
Best applications include heritage or appearance-sensitive properties, tile roofs where other options aren't suitable, supplementary ventilation, and gable/hip vent installations. Typically install 1 tile vent per 10m² for intake, 1 per 15m² for exhaust. Cost is $45-$85 per vent installed.
Solar vents use photovoltaic panels to power extraction fans, operating during peak heat hours. They provide consistent extraction regardless of wind, high airflow rates (similar to 3-4 whirlybirds), operation during hottest parts of the day, no electricity costs, and thermostat control options.
Best for low-wind areas, maximum heat extraction needs, eco-conscious installations, and roofs with good solar exposure. Solar vents cost $800-$1,400 installed including panel and controls.
Electric exhaust fans provide maximum extraction capacity, controlled by thermostats or timers. They offer very high airflow capacity (up to 20,000m³/hr), consistent operation regardless of weather, precise temperature control, and rapid heat removal. However, they have ongoing electricity costs ($80-150 annually), require electrical work, need maintenance, and make operational noise.
Best for commercial applications, extreme heat areas, specific extraction requirements, and when maximum capacity is essential. Installation costs $600-$1,200 plus electrical work.
Ventilation works best as a system—combining exhaust vents (whirlybirds, ridge vents) with intake vents (eave/soffit vents, tile vents) creates proper airflow. Never install exhaust-only ventilation without adequate intake.
Building Code of Australia (BCA) recommends minimum 1:150 ratio—1m² of ventilation for every 150m² of roof space. For Sydney's climate, better practice is 1:100 ratio for improved performance. High-heat or complex roofs may need 1:75 ratio.
For a typical Sydney home with 150m² roof space: at 1:100 ratio, you need 1.5m² of ventilation area. Each quality whirlybird provides approximately 0.45m² effective area. Therefore, you require 3-4 whirlybirds for optimal ventilation. Position strategically across roof area for even coverage.
Intake ventilation should equal or exceed exhaust ventilation. If installing 4 whirlybirds (1.8m² exhaust), provide 2-2.5m² intake through soffit vents, tile vents, or gable vents. Imbalanced systems reduce efficiency significantly.
Position whirlybirds on the upper half of roof slope, near but not at the ridge. Avoid valleys, eaves, and high-traffic areas. Distribute evenly across roof area. Ensure minimum 1.2m from ridges, 600mm from valleys. Check for obstructions in roof cavity. Verify adequate clearance for rotating head.
Mark centre point of vent location. For tile roofs, remove 3-6 tiles around location. For metal roofs, cut precise hole using template. Ensure clean, straight cuts. Protect roof cavity during cutting. Remove any battens obstructing installation. Create proper clearance for vent body.
Install base flashing with proper overlap under roof materials. Use manufacturer-supplied or custom flashing. Ensure uphill edge tucks well under tiles/sheets (minimum 150mm). Seal all edges with compatible sealant. Secure flashing without over-tightening. Maintain proper water shedding angles.
Assemble vent base to flashing per manufacturer instructions. Ensure secure fixing and proper alignment. Install rotating head and bearings. Verify free rotation without obstruction. Check vertical alignment (critical for proper operation). Secure all fasteners to specifications. Test rotation by hand before completion.
Seal all flashing edges and joints thoroughly. Replace roof materials around vent with proper clearances. Ensure tiles/sheets don't contact rotating head. Cut tiles precisely for neat appearance. Seal cut edges of tiles to prevent water ingress. Final inspection for any gaps or weak points.
Verify whirlybird rotates freely in light wind. Check for any unusual noise or resistance. Inspect all seals and flashings. Conduct water test if possible. Clean work area and remove debris. Document installation location and date.
Every roof penetration creates a potential leak point. Proper flashing installation and sealing are essential. Poor whirlybird installation is a leading cause of roof leaks. If not confident in your waterproofing skills, engage a professional.
Mark ridge line and required vent opening width. Cut metal ridge capping or sheets to create opening. Install ridge vent base/substrate supports. Fit ridge vent product along entire ridge length. Install over-flashing or capping per manufacturer specs. Seal all ends and joints properly. Ensure water cannot enter vent system. Test by observing airflow.
Remove existing ridge capping along vent section. Install ridge vent tile system or conversion products. Ensure proper bedding and pointing. Maintain weatherproof seal while allowing airflow. Re-bed and repoint ridge caps as needed. Verify both ventilation and weather protection.
Cut ventilation slots in eave soffits. Install mesh or grilled vent covers. Position along entire eave length for maximum effect. Ensure insulation doesn't block airflow into roof cavity. Provide minimum 10,000mm² intake area per m² of roof.
Cut opening in gable wall at peak. Install louvered or mesh gable vent. Seal around vent perimeter. Size according to roof area served. Consider decorative vents for heritage homes.
Best options include whirlybirds (2-4 units typical), tile vents for intake (10-15 units), ridge vents if compatible with tile profile, and soffit vents in eaves. Considerations include matching tile colour for vents, ensuring proper flashing under tiles, and avoiding damage to tiles during installation.
Best options include ridge vents along entire peak, whirlybirds (1-3 units typically needed), solar or powered vents for maximum extraction, and soffit vents for intake. Benefits include easier penetration and flashing, cleaner installation appearance, and better sealing opportunities.
Challenging ventilation requiring box vents or low-profile turbines, powered extraction fans, careful waterproofing of penetrations, and possible building code compliance issues. Professional design recommended for flat roofs.
Typical Sydney home (150-200m² roof): 3 whirlybirds + 12 tile vents (intake) = $1,600-$2,400 total. Premium system: 2 solar vents + ridge vent + soffit vents = $3,200-$4,800 total.
Annual inspection for bearing wear and free rotation. Clean debris from base and flashing. Lubricate bearings if specified by manufacturer (many are maintenance-free). Replace if cracked, rusted, or not rotating. Quality whirlybirds last 20-30 years with minimal maintenance.
Inspect for debris blocking airflow. Check seals and flashings annually. Ensure no animal nesting. Verify airflow continues unobstructed. Ridge vents typically last 25-30+ years.
Annually verify all vents functioning properly, check intake vents aren't blocked by insulation, ensure roof cavity insulation allows airflow, look for signs of condensation or moisture, and monitor summer roof cavity temperatures to confirm effectiveness.
Soffit vent installation (ground level work), simple tile vent installation on accessible roofs, and gable vent installation in walls. Requirements include safe roof access, good DIY skills, proper tools, and understanding of waterproofing principles.
Whirlybird installation (roof penetrations), ridge vent installation (critical waterproofing), solar or powered vent installation (electrical work), complex or steep roofs, and any installation without confidence in waterproofing. Professional installation includes written warranty with clear coverage terms, liability insurance, code compliance, and proven waterproofing.
BCA Section 3.8.5 specifies minimum ventilation requirements. AS 4046 covers roof ventilation design and installation. Ventilation must not compromise weatherproofing or structural integrity. Some areas require permits for electrical vent installation. Professional installers ensure all code requirements met.
Add more whirlybirds or vents to existing system. Install ridge vents during re-roofing projects. Add intake vents if only exhaust exists. Upgrade to solar vents for better extraction. Ensure insulation doesn't block airflow paths.
Proper roof ventilation reduces cooling costs by 15-25% in Sydney summers. For average home spending $800-1,200 annually on cooling, that's $120-$300 annual savings. A $1,500-2,000 ventilation system pays for itself in 6-10 years, while providing comfort benefits immediately.
Additionally, reduced roof cavity temperatures extend roof material life by 20-30%, delay recoating or replacement needs, protect insulation from heat damage, and reduce AC unit wear and tear.
Proper roof ventilation is a wise investment that pays dividends in comfort, energy savings, and roof longevity. While initial costs may seem significant, the long-term benefits far outweigh the expense. Most Sydney homes are under-ventilated and would benefit from upgraded systems.
When installing ventilation, focus on balanced systems with adequate intake and exhaust, quality products that will last decades, and proper installation with excellent waterproofing. Done correctly, roof ventilation is a fit-and-forget upgrade that protects your home for 25-30+ years.
Ready to improve your roof ventilation? Contact our Sydney team for a free assessment and quote on the ideal ventilation solution for your home.
Our experts are ready to help you with maintenance, repair, or restoration of your roof.
Related articles on this topic
Learn to identify the early signs of roof problems before they become costly repairs.
Complete price guide for different types of roof repairs in Sydney.
Compare Colorbond, terracotta, concrete and other materials to find the perfect one for your home.
Essential tips to prepare your roof for Australian winter rains and storms.

From urgent make-safes to scheduled remedial works, we deliver clear scopes, photo documentation and workmanship warranties, keeping your operations safe and minimising downtime.