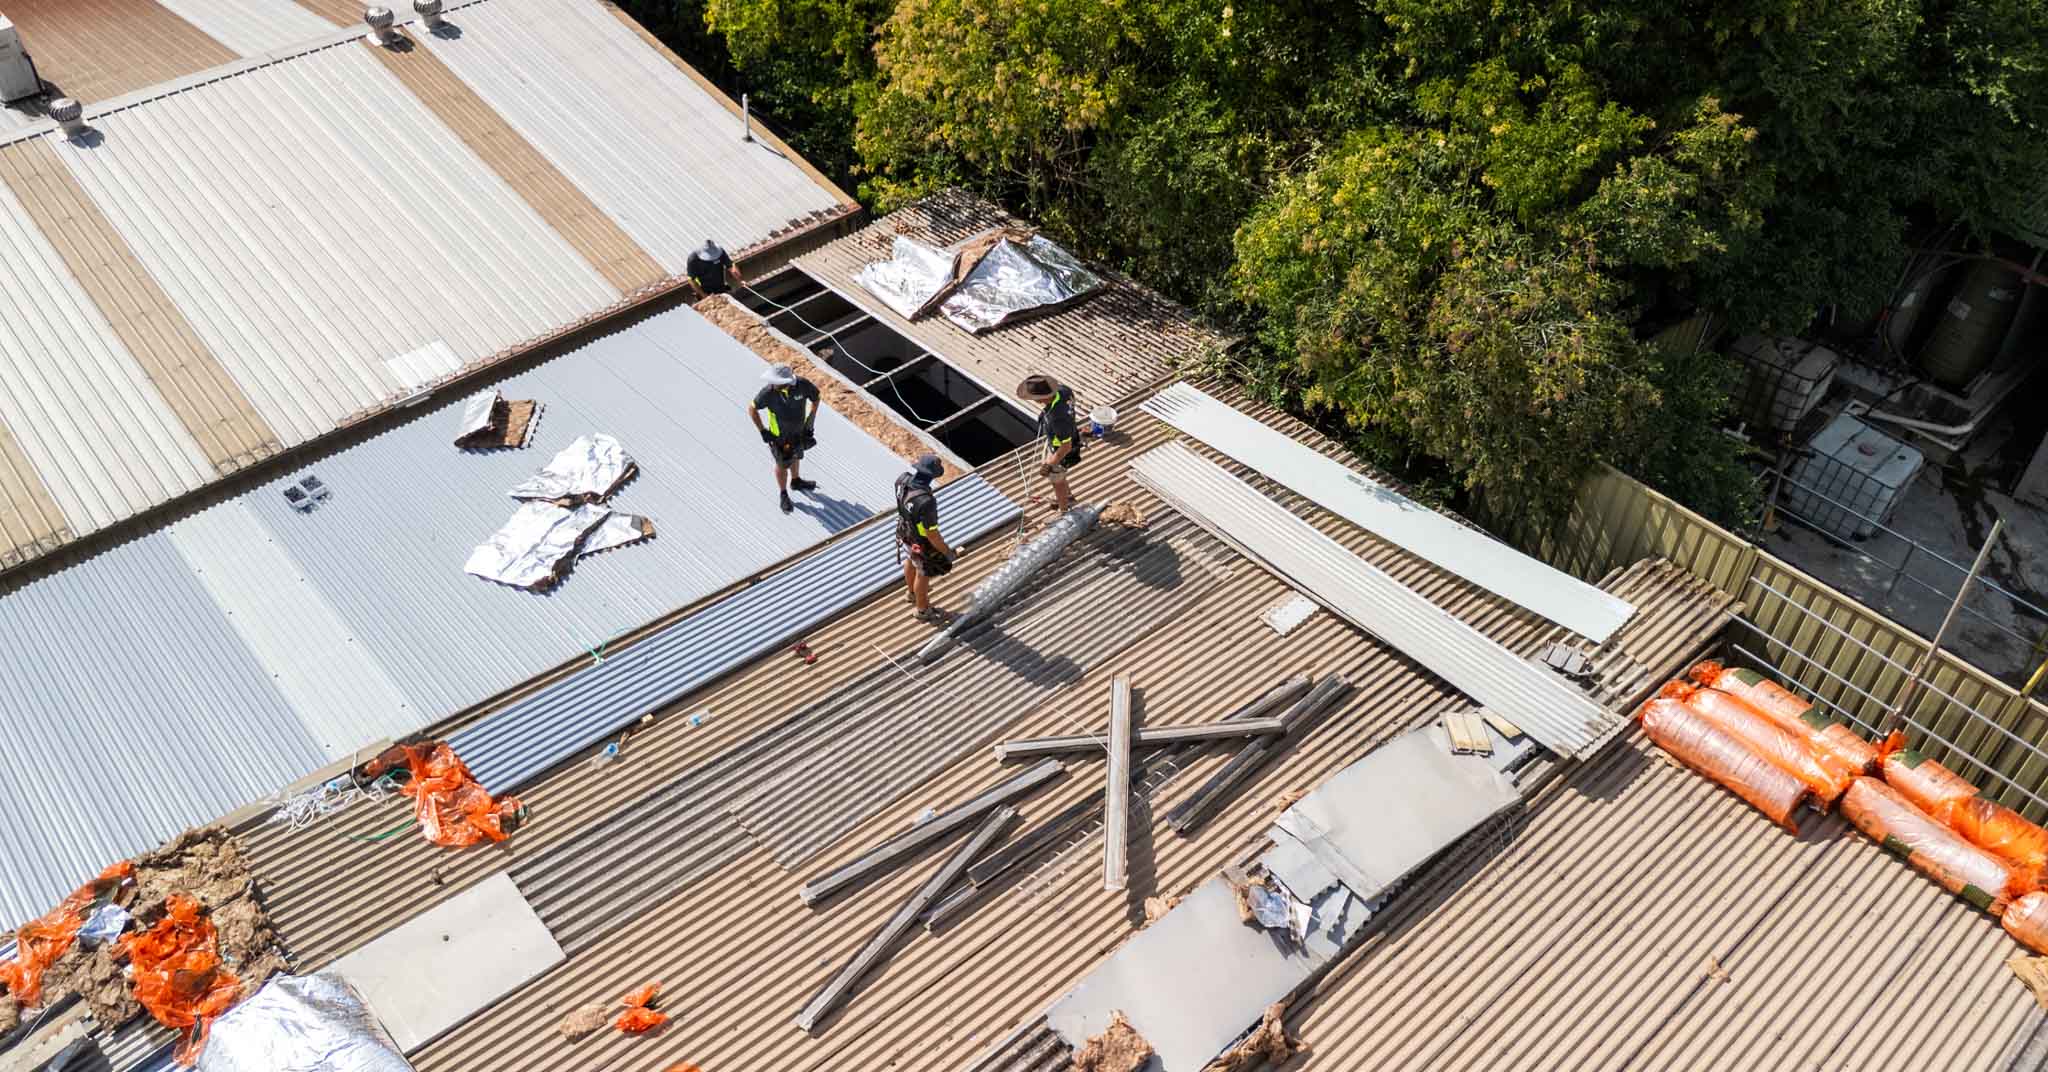
Inspection
Early Warning Signs of Roof Problems
Learn to identify the early signs of roof problems before they become costly repairs.



Expert guide to roof valley repairs in Sydney. Learn about valley types, common leak causes, repair methods, replacement processes, and prevention strategies.
Roof valleys are one of the most critical—and vulnerable—elements of any roofing system. These angled channels where two roof planes meet must handle significant water flow while remaining watertight year after year. When valleys fail, the resulting leaks can cause extensive damage to roof structures, ceilings, and walls. This comprehensive guide covers everything Sydney homeowners need to know about identifying, repairing, and preventing valley failures.
A roof valley is the internal intersection formed where two roof slopes meet, creating a channel that directs rainwater toward gutters and downpipes. Valleys concentrate water flow from both roof planes, making them high-stress areas that require robust waterproofing and proper construction.
In Sydney's climate, with intense rainfall events delivering up to 100mm+ in a single storm, valleys must handle rapid water movement without overflow or leakage. A properly constructed valley will last 20-30+ years with minimal maintenance, while poor valley detailing can fail within 5-10 years.
Open valleys feature exposed metal flashing (typically Colorbond or Zincalume) forming a visible channel between roof slopes. The roofing material (tiles or sheets) is cut back from the valley line, with the metal flashing fully exposed. This design offers excellent water flow, easy debris removal, long service life (30-40 years), and simple repairs and maintenance. Open valleys are preferred for tile roofs and high-rainfall areas, though they're more visible and require precise installation.
In closed valleys, roofing materials from both slopes overlap or weave together across the valley line, with metal flashing hidden beneath. This creates a continuous roof appearance with minimal visible metalwork and traditional aesthetic appeal. However, closed valleys have higher leak risk, difficult debris removal, and are harder to inspect and repair. They're common in older tile roofs but less favoured in modern construction.
California valleys feature roofing material from one slope overlapping the valley, with the opposite slope's material cut and fitted against it. Metal flashing remains mostly hidden while maintaining better water flow than fully woven valleys. This design offers a balance between open and closed styles with moderate water capacity and aesthetic appeal, though it requires precise cutting and fitting.
For Sydney's climate and heavy rainfall, open metal valleys provide the most reliable long-term performance. They're easier to maintain, inspect, and repair compared to closed valley systems.
Metal valley flashing degrades over time due to UV exposure, thermal cycling, corrosion from debris accumulation, and physical damage. Older galvanised valleys are particularly prone to rust-through, while even Colorbond can suffer from coating breakdown after 25-30 years.
Installation errors include insufficient flashing width (should be minimum 600mm), incorrect pitch or fall preventing proper drainage, inadequate underlayment or waterproofing membrane, poorly sealed joints and seams, and incorrect tile or sheet cutting and fitting.
Sydney's trees shed leaves, bark, and twigs that accumulate in valleys. This debris creates dams that back up water, accelerate metal corrosion, add weight stressing the valley, and hide developing problems. Regular cleaning is essential, particularly in autumn and spring.
Valleys suffer damage from foot traffic during roof access, falling branches during storms, poor maintenance practices, and hail impact. Any breach in the metal flashing creates an immediate leak path.
The waterproof membrane (sarking) beneath valley flashing provides secondary protection. When sarking deteriorates, tears, or wasn't properly installed, even minor flashing issues can cause leaks.
Valley leaks concentrate water in specific areas, causing rapid damage to roof framing, insulation, and ceilings. What starts as a small leak can lead to thousands of dollars in structural repairs if left unaddressed. Always investigate water stains immediately.
For small holes, cracks, or joint failures in otherwise sound flashing:
Minor repairs typically cost $250-$600 per valley section and can extend service life by 2-5 years when done properly.
When existing valley structure is sound but flashing is failing, re-lining provides a cost-effective solution:
Valley re-lining costs $180-$280 per linear metre including materials and labour.
For severely deteriorated valleys, complete replacement is necessary:
Complete valley replacement costs $220-$350 per linear metre depending on roof type and access.
Establish safe roof access with proper scaffolding or edge protection. Set up fall arrest systems per WHS requirements. Protect surrounding areas from debris. Check weather forecast—dry conditions essential. Gather all materials and tools before starting.
Carefully remove tiles or roofing sheets from valley area, working from top to bottom. Label or mark tiles for proper replacement order. Remove old valley flashing, checking for reasons it failed. Expose and inspect roof structure thoroughly.
Check rafters, battens, and framing for rot, damage, or movement. Test sarking condition and adhesion. Identify and address any structural issues. Ensure valley has proper fall (minimum 1:60 pitch). Check for adequate support and ventilation.
Install new breathable sarking membrane if required. Lap sheets minimum 150mm and tape all joints. Ensure sarking drapes into valley without tension. Extend well under roofing material each side. Provide drainage path to gutters.
Measure and cut valley flashing to required lengths. Allow for proper overlaps at joints (150mm minimum). Secure flashing with appropriate fixings at edges only. Never penetrate flashing in the water flow path. Maintain consistent width and alignment. Seal all joints with compatible sealant.
Cut tiles or sheets accurately for neat valley edges. Maintain proper clearances (typically 100-150mm from valley centre). Secure materials properly without compressing flashing. Seal cut edges of tiles to prevent water ingress. Ensure materials don't direct water into valley incorrectly.
Seal all intersections, penetrations, and edges. Apply water test starting from top of valley. Observe water flow and check for any leaks. Inspect from interior during testing if possible. Make any necessary adjustments. Clean work area and remove all debris.
Colorbond Steel (Recommended): Pre-painted steel with superior corrosion resistance, excellent colour range matching roof tiles, and manufacturer-backed warranty per product specifications. Use minimum 0.48mm BMT for valleys.
Zincalume: Unpainted zinc/aluminium coated steel offering excellent corrosion resistance, 30-35 year lifespan, and lower cost than Colorbond. Good choice when appearance isn't priority.
Copper (Premium): Traditional material with 60+ year lifespan, develops attractive patina, and excellent durability. Very expensive ($400-600 per metre) but ideal for heritage properties.
Avoid: Standard galvanised steel (rusts quickly), aluminium valleys (too soft, damage easily), and thin gauge metals (less than 0.42mm BMT).
Minimum 600mm for standard tile roofs, 750-900mm for high-rainfall or long valley runs, wider for complex roof geometries, and adequate to handle calculated water flow rates.
Clean valleys at least twice annually (autumn and spring), immediately after severe storms, more frequently if under trees, and always before re-roofing or major work. Use soft brushes—never scrape metal. Flush with water to check flow and drainage.
Annual professional inspection for valleys over 15 years old, bi-annual inspection for critical or problem-prone valleys, post-storm inspection after severe weather, and before/after major roof work. Check for debris accumulation, flashing condition, sealant integrity, tile or sheet placement, and water flow patterns.
Average Sydney home with 3-4 valleys typically requires $2,500-$5,000 for complete valley replacement.
Valley work involves complex waterproofing, work at height with significant risk, potential for catastrophic leaks if done incorrectly, requirements for specialised tools and skills, and need for building code compliance. Even experienced DIYers should engage professionals for valley repairs.
Select contractors with specific valley repair experience:
Most insurance policies cover sudden valley damage from storms, falling objects, or similar events, but exclude gradual deterioration, lack of maintenance, or pre-existing conditions. When making a claim, document damage with photos immediately, arrange temporary leak protection, notify insurer promptly, obtain professional assessment and quote, and keep records of all damage and repairs.
For the best claim outcome, engage insurance-approved or recommended roofers, provide complete documentation, be present during insurance inspection, and understand your policy coverage and excess.
Roof valleys are critical waterproofing elements that demand proper construction, regular maintenance, and prompt repairs when issues arise. While valley repairs can seem expensive, they're far less costly than the water damage that results from valley failures.
Sydney homeowners should inspect valleys annually, clean them regularly, and address any signs of deterioration immediately. When repairs are needed, engaging qualified professionals ensures work is done correctly, safely, and to Australian standards.
Don't wait for ceiling stains to appear—proactive valley maintenance protects your home and saves money in the long run.
Need expert valley repair or replacement in Sydney? Contact our specialist team for a comprehensive assessment and fixed-price quote.
Our experts are ready to help you with maintenance, repair, or restoration of your roof.
Related articles on this topic
Learn to identify the early signs of roof problems before they become costly repairs.
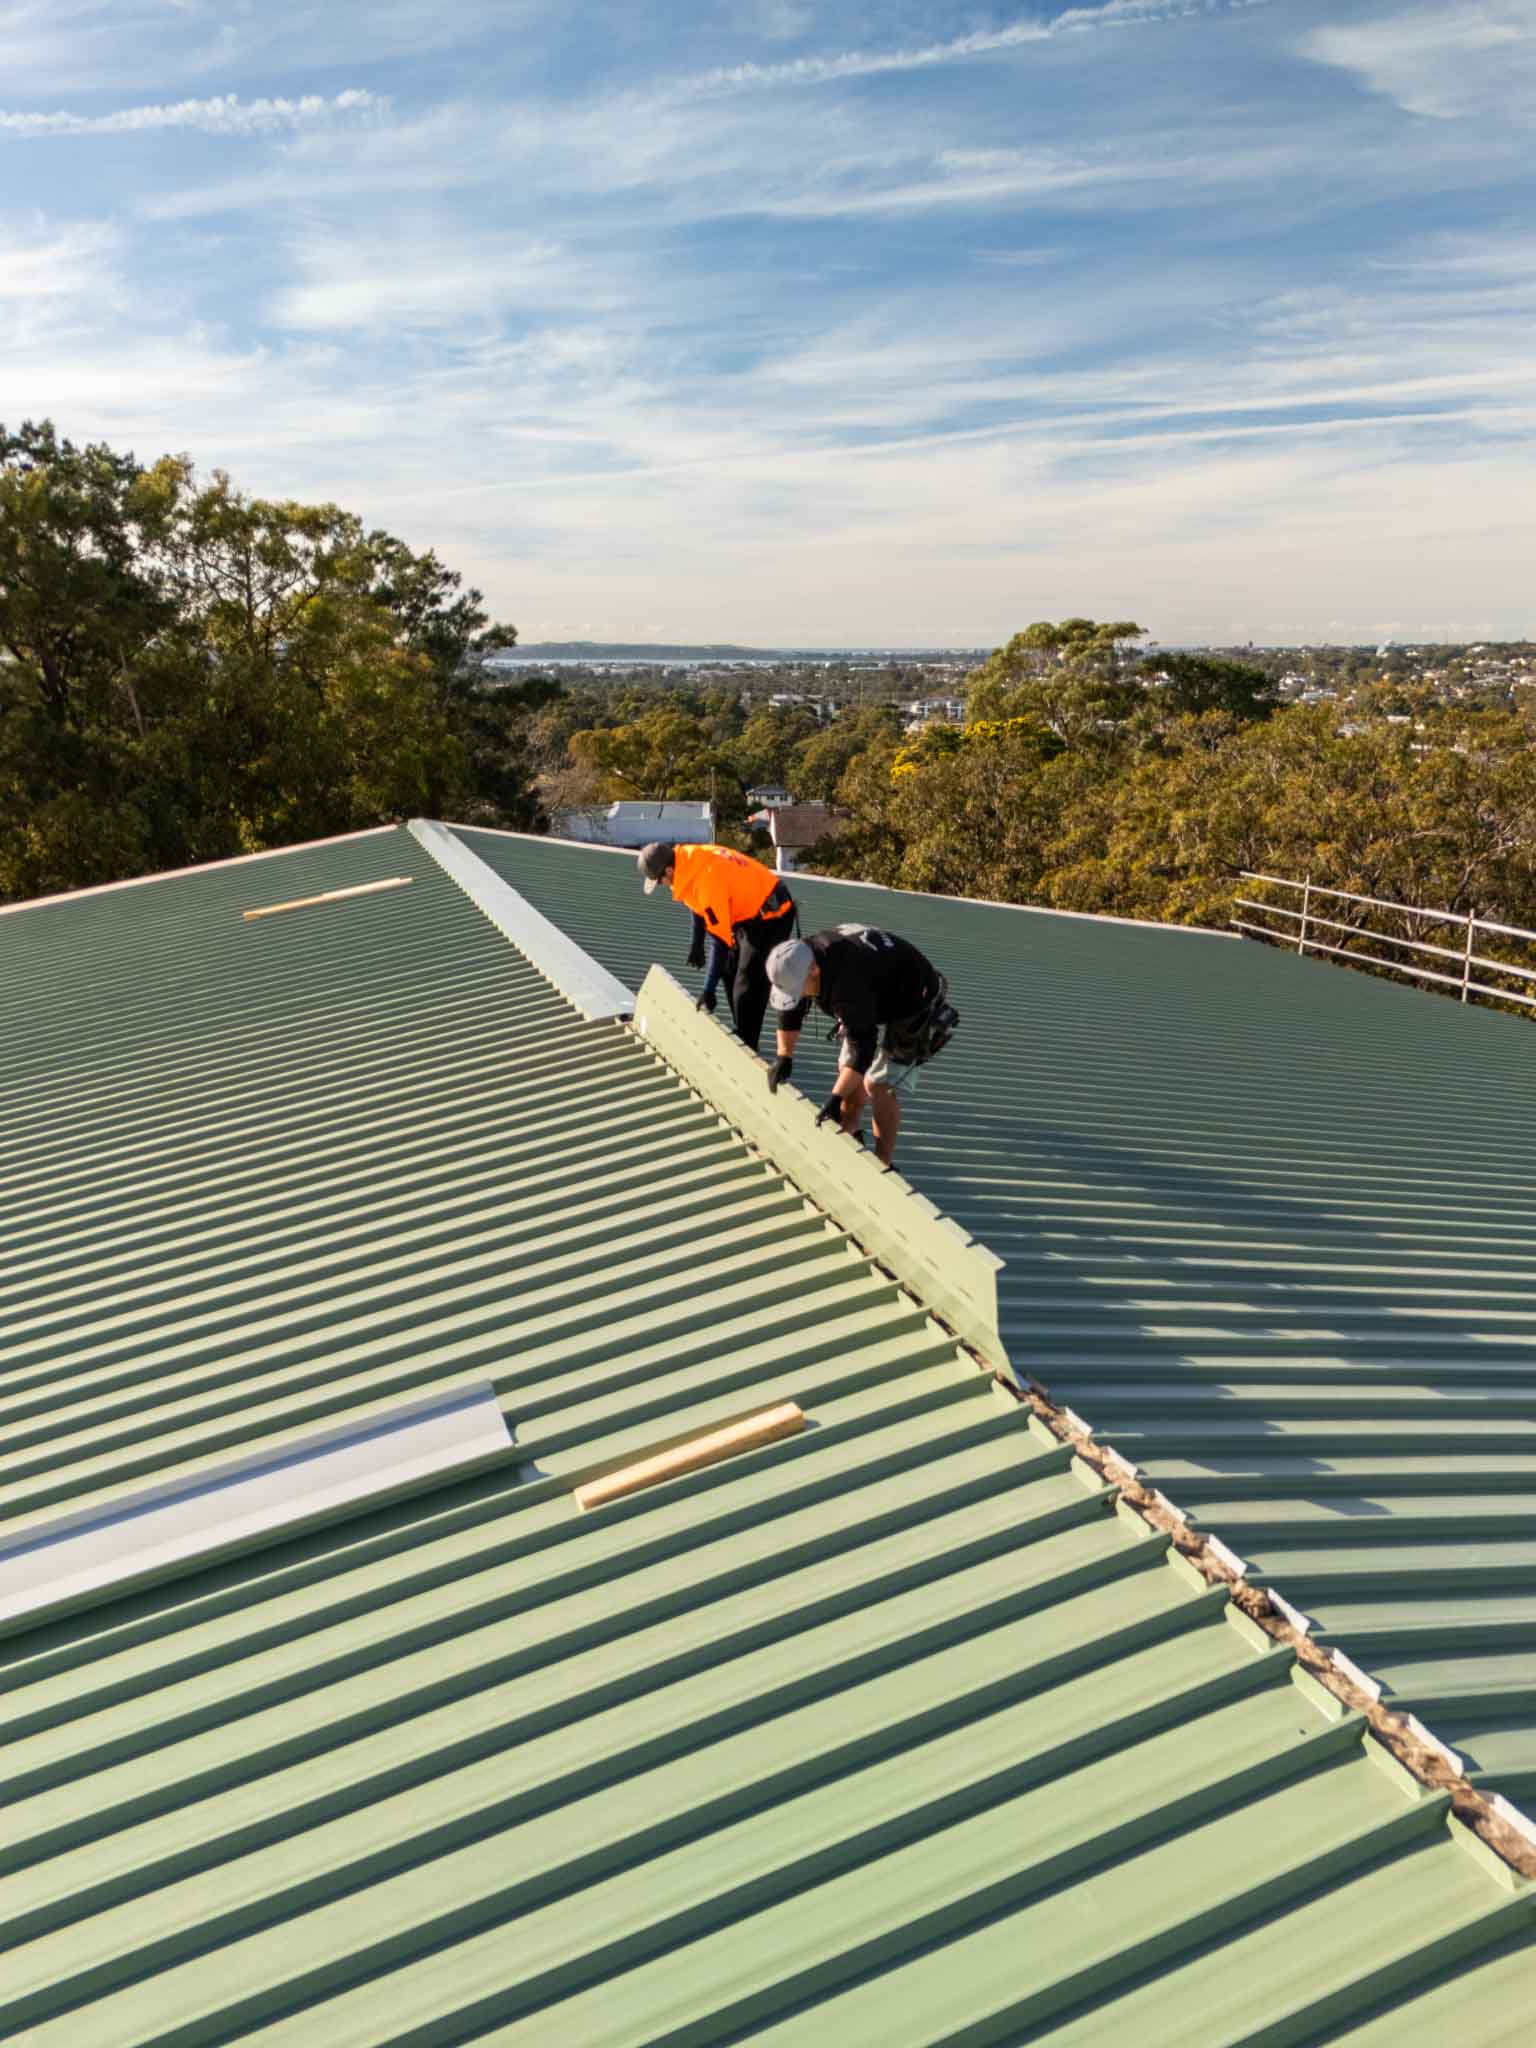
Complete price guide for different types of roof repairs in Sydney.
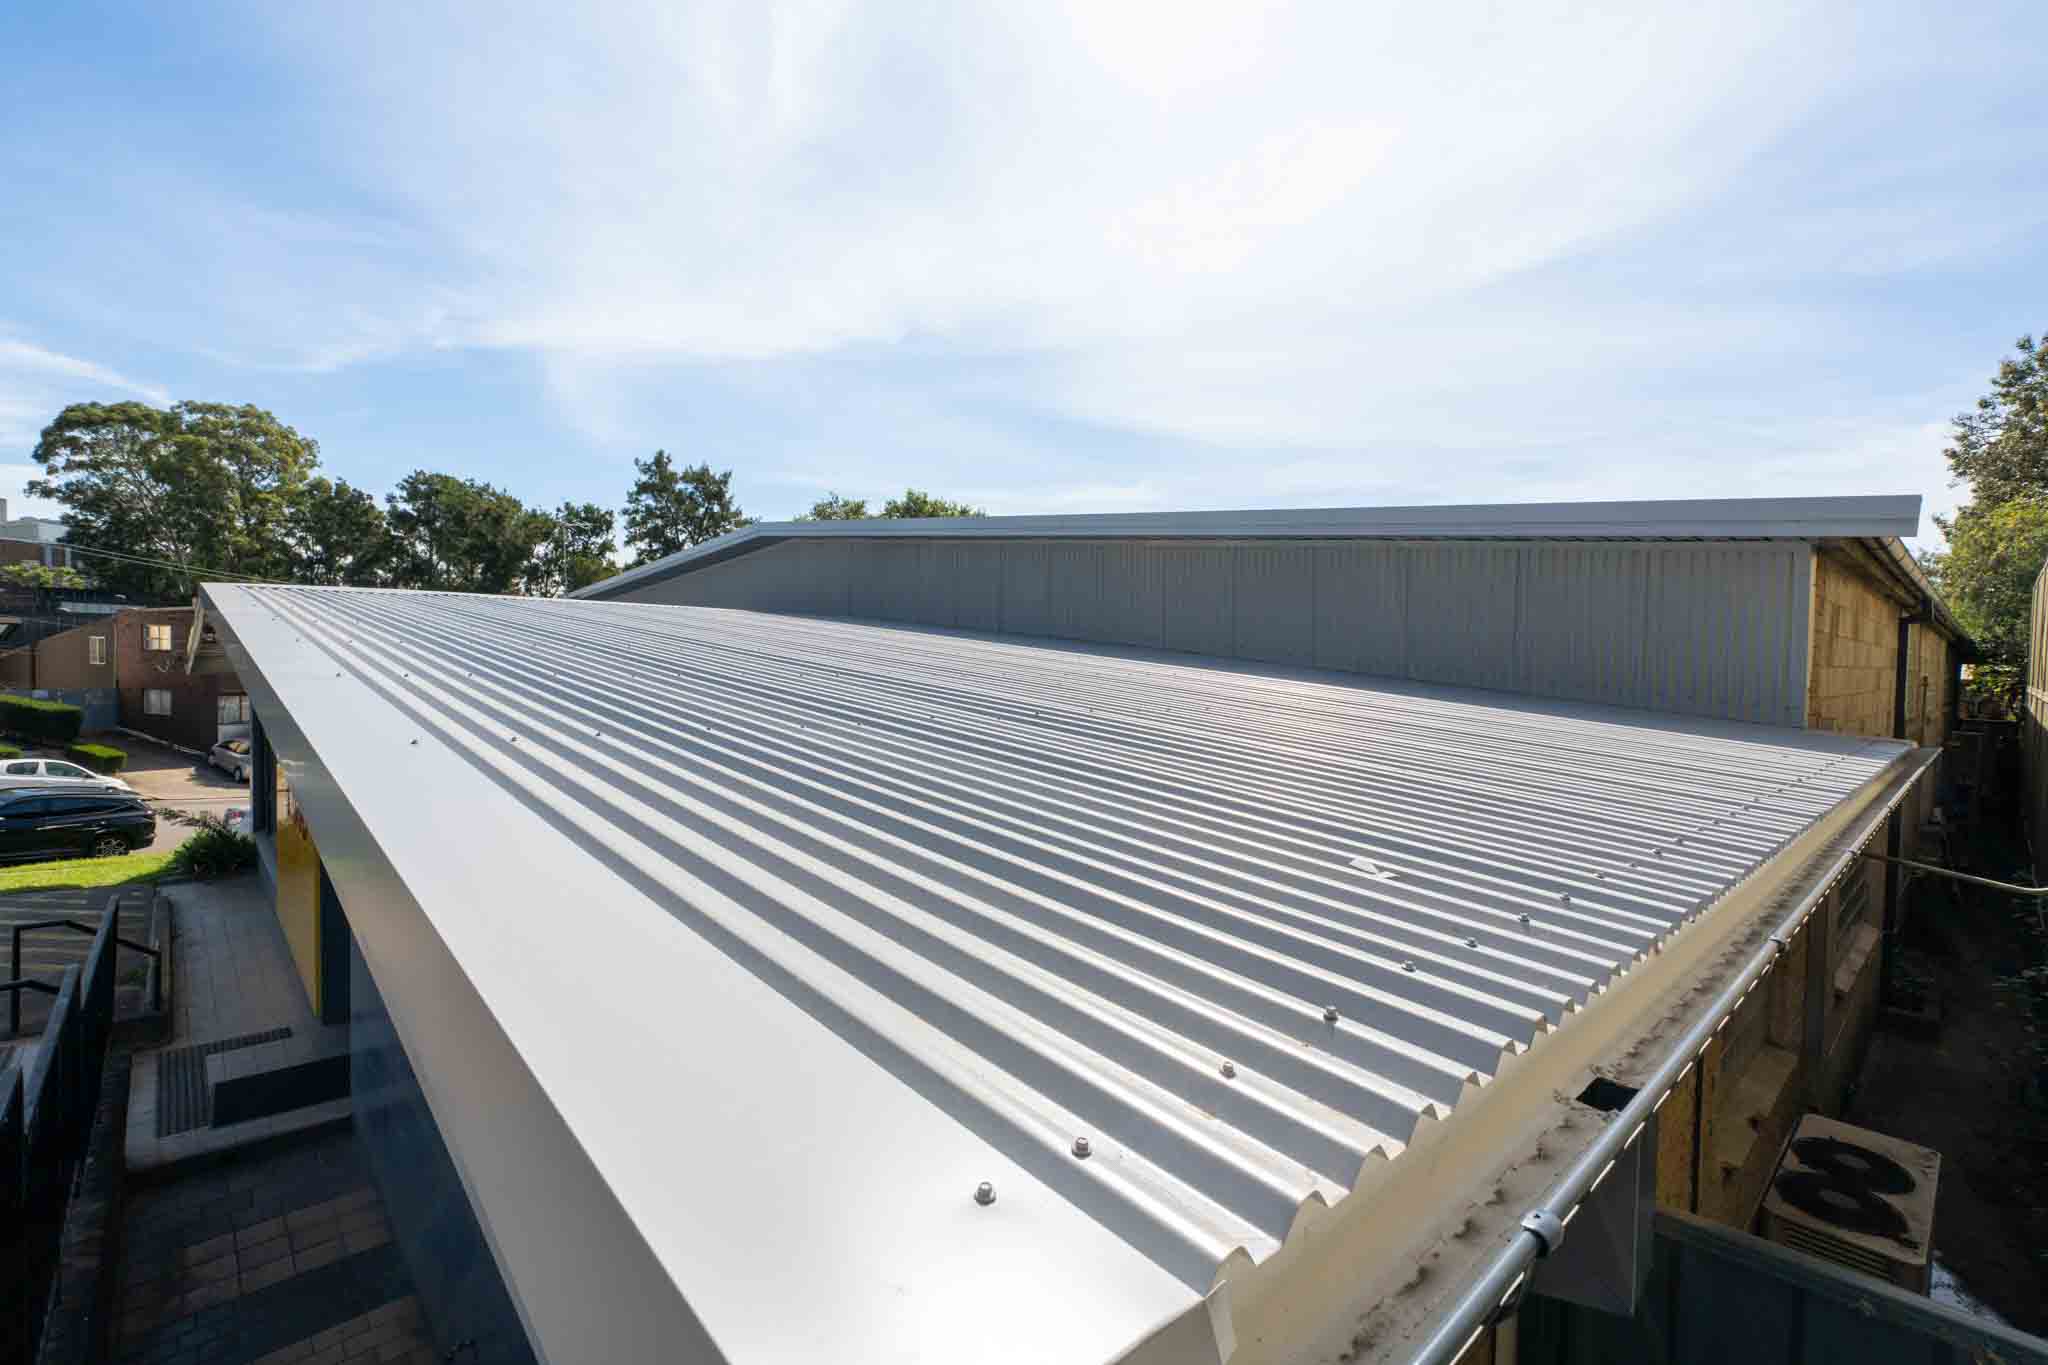
Compare Colorbond, terracotta, concrete and other materials to find the perfect one for your home.
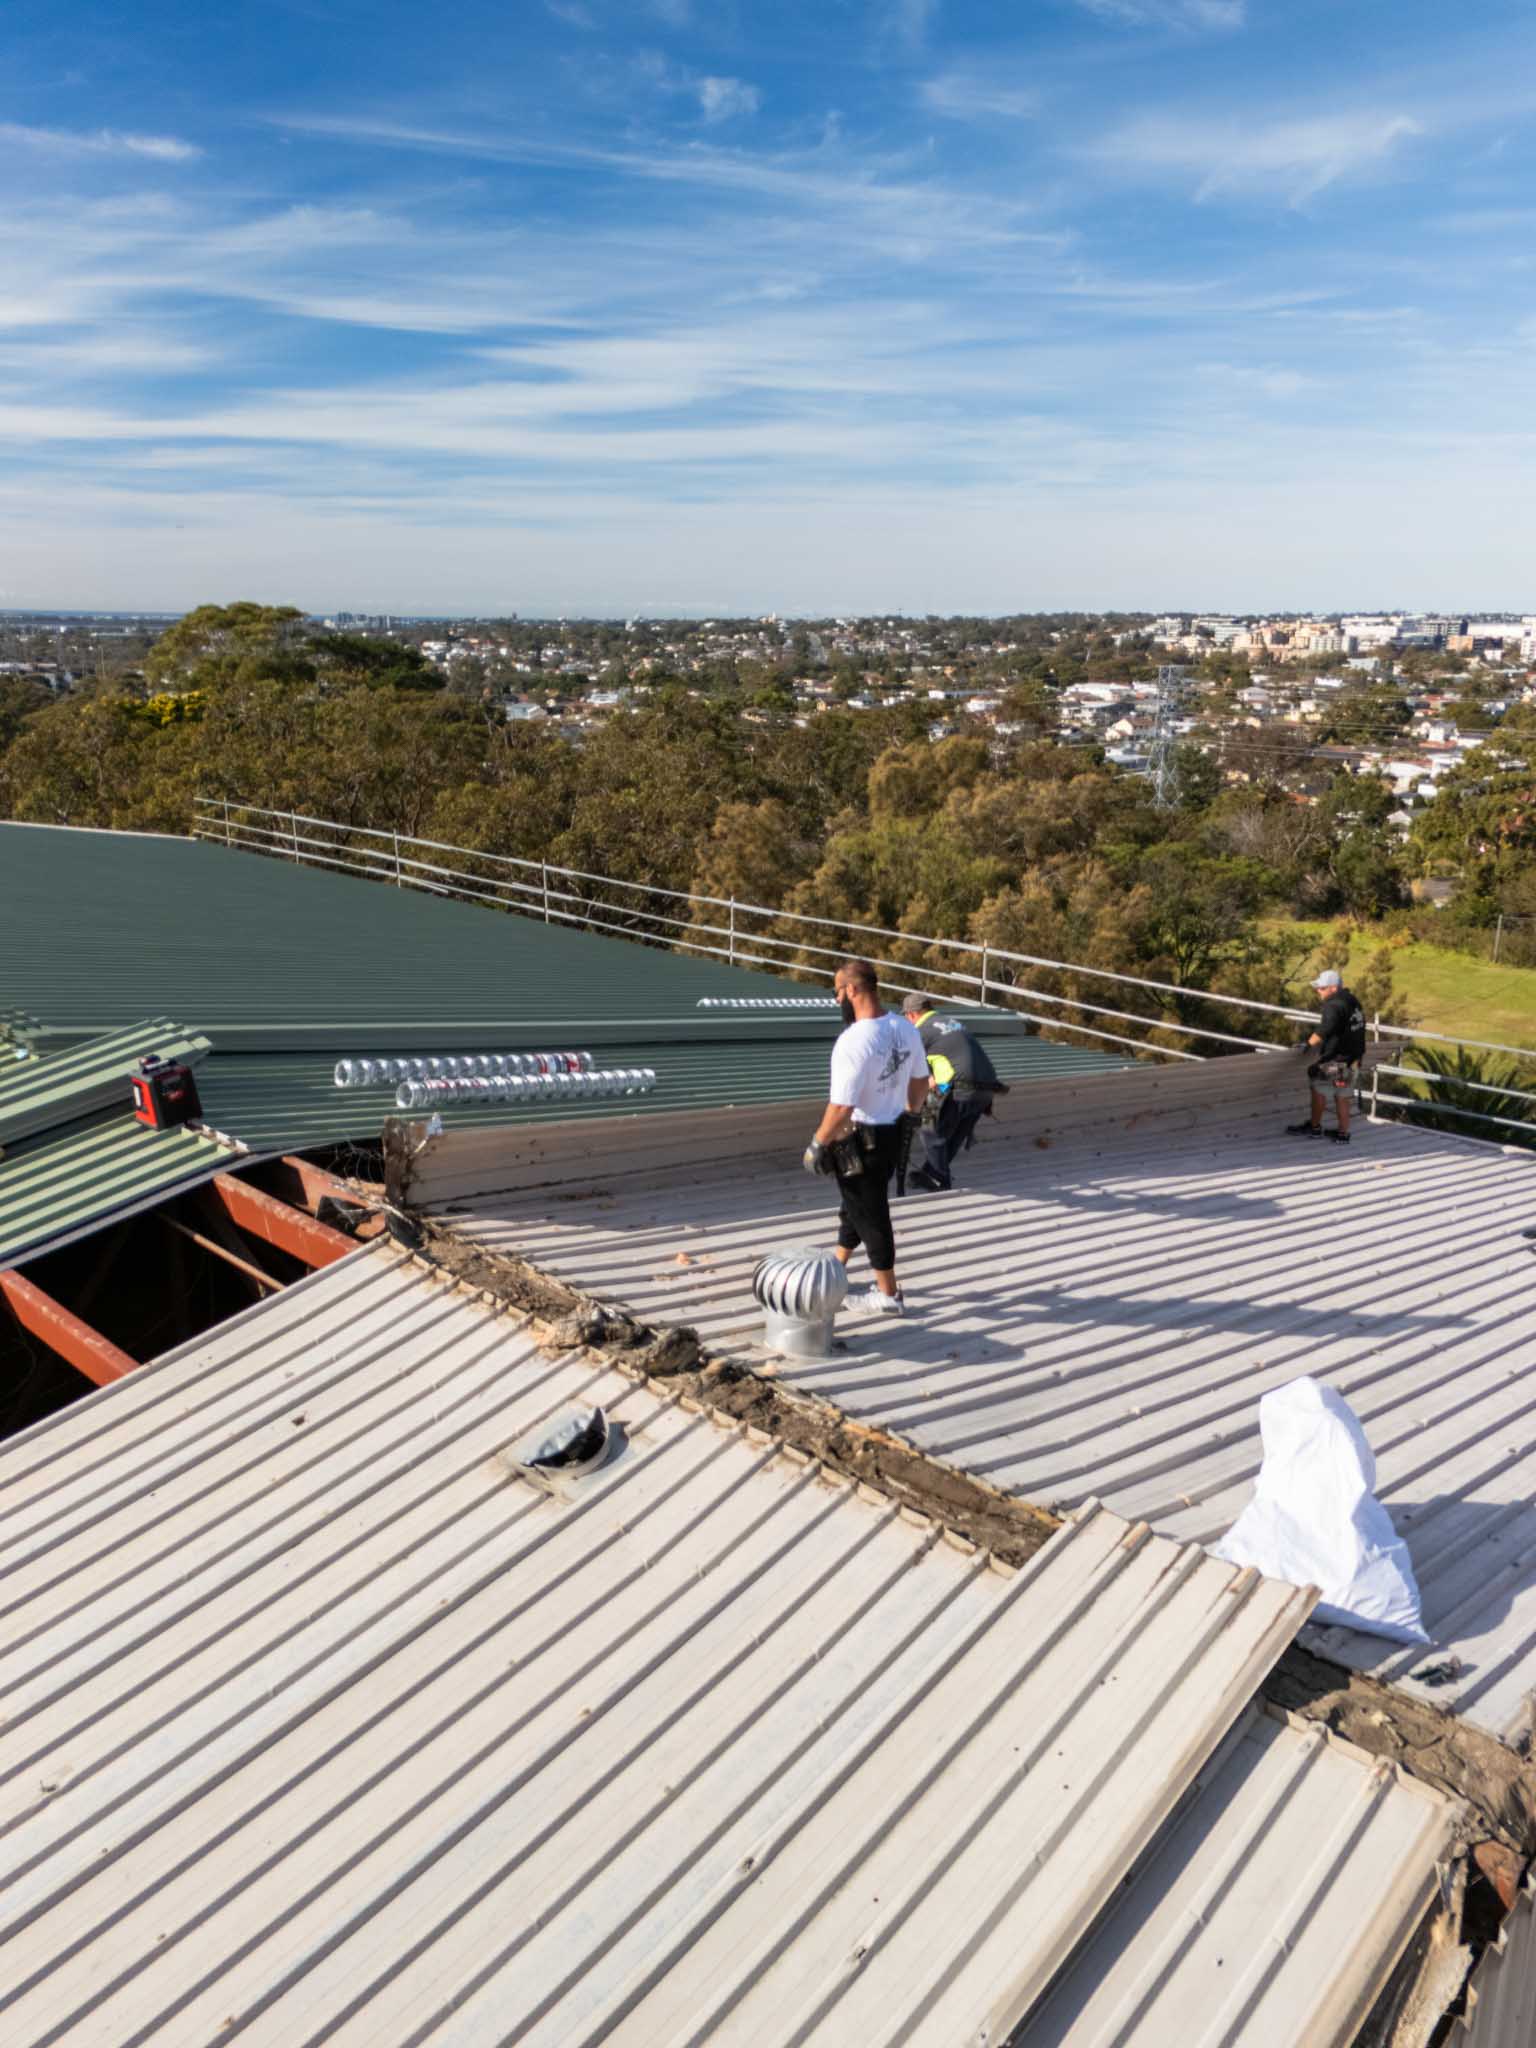
Essential tips to prepare your roof for Australian winter rains and storms.

From urgent make-safes to scheduled remedial works, we deliver clear scopes, photo documentation and workmanship warranties, keeping your operations safe and minimising downtime.